
Once you have a per-guest waiver configured for an inventory item, every booking that includes that item will also require guests to sign waivers.
There are several ways to provide guests with waivers to sign.
Signing Waivers for Front-End Bookings
A front-end booking gives guests a few opportunities to sign:
- Waivers are presented on the confirmation page after checkout.
- If guest email addresses are collected during checkout, waivers are automatically emailed to them to sign. Otherwise they’re sent to the booking’s billing email address.
- Waivers can be signed from the order receipt.
Once a guest digitally signs and submits a waiver using any of these methods, you can locate the signed waiver on the booking’s details page.
Signing Waivers for Point-of-Sale Booking
A point-of-sale booking can be signed from the booking’s details page, via email, or via a custom link.
Send a waiver by email or SMS*
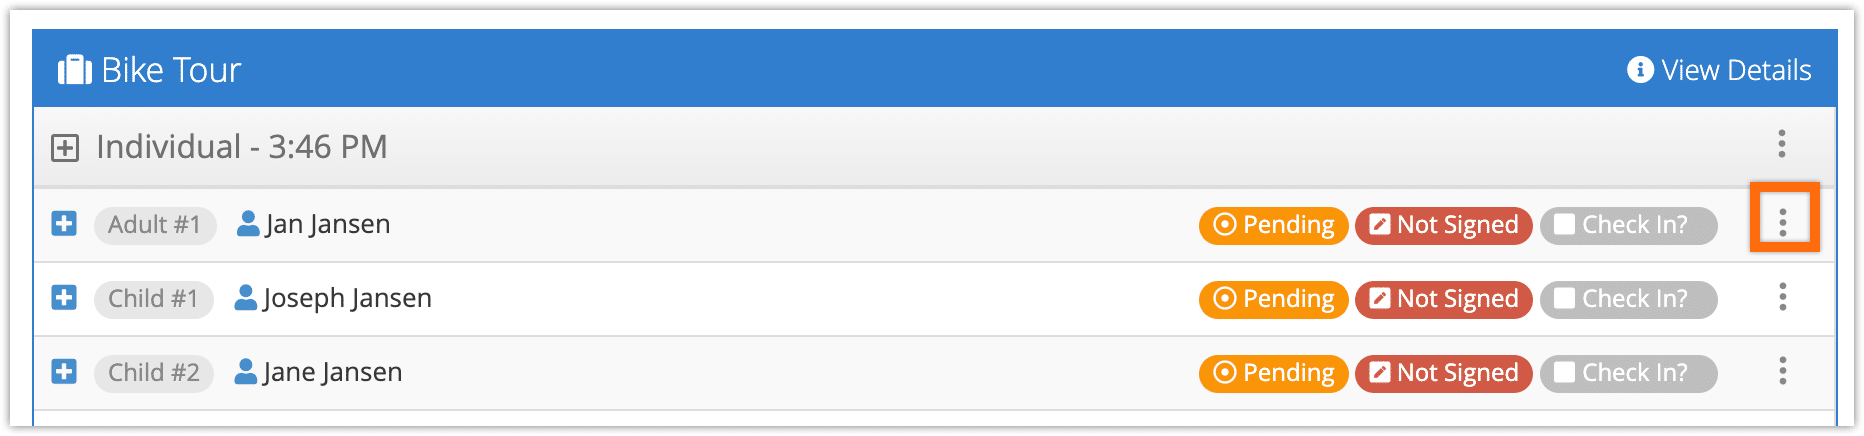
To send a guest their waiver by email, navigate to the booking’s details pageor the daily manifest.
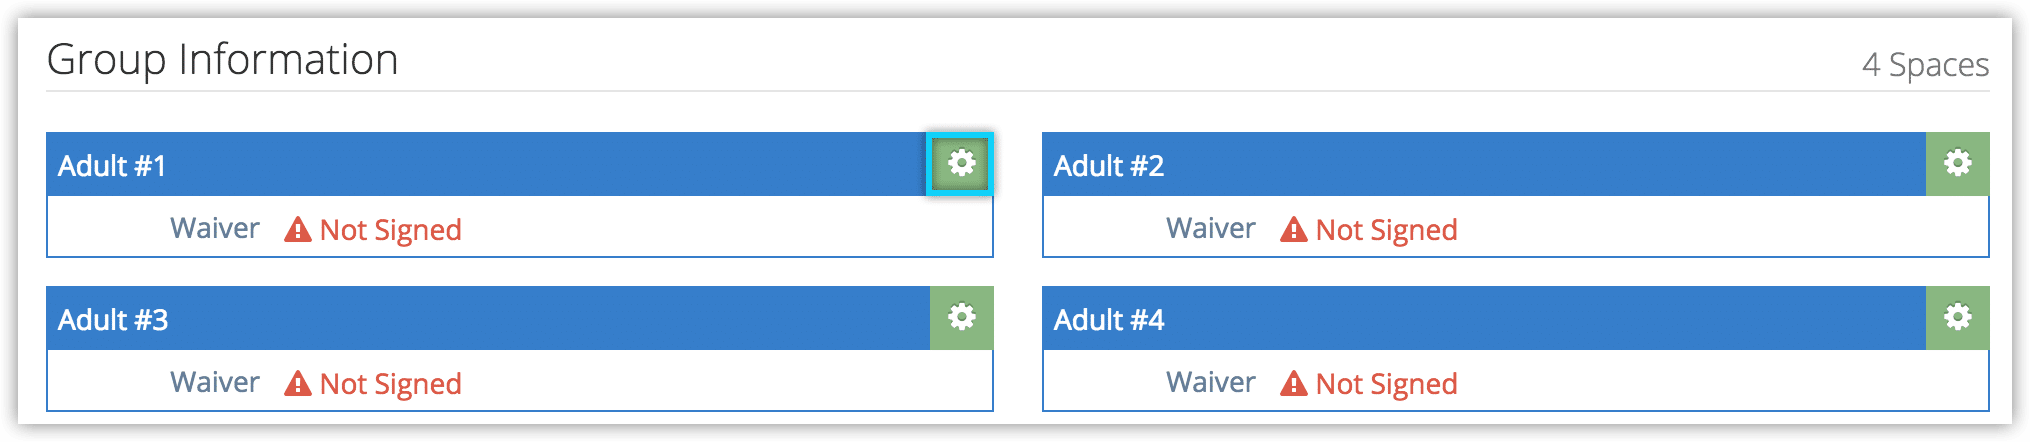
1. Locate the guest under Group Information or in the manifest.
2. Click the action button next to the guest.
or
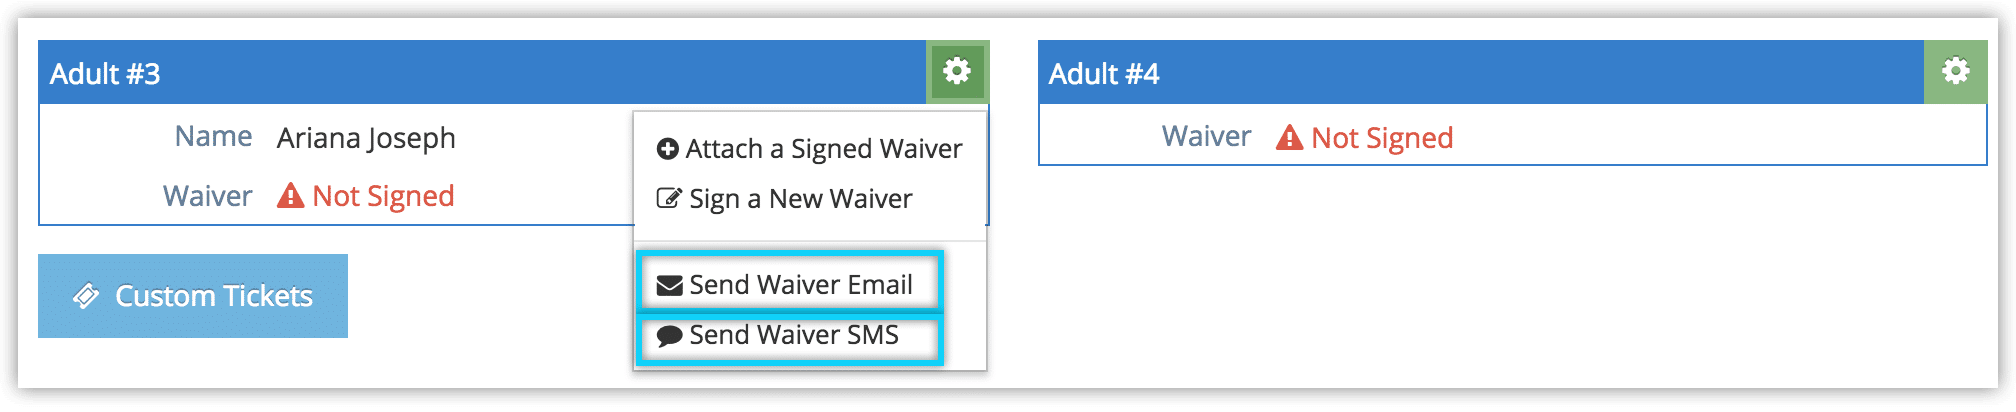
3. Click Send Waiver Email or Send Waiver SMS
– If you haven’t entered an email address/SMS number for the guest, you’ll be prompted to do so now.
4. Click OK to send a link to the waiver.
Use a waiver link
If you want a quick, easy way of displaying a waiver to your customers, you can also create a direct link. For example, if you want to keep a waiver up on a tablet for multiple customers to sign in succession, a waiver link is the easiest way to do so.
Because these links aren’t connected to specific bookings, waivers signed in this manner need to be attached to their respective booking guests. This can be done at a later time.
Getting a waiver link
First, navigate to the item’s details page.
Click Link To Waiver.
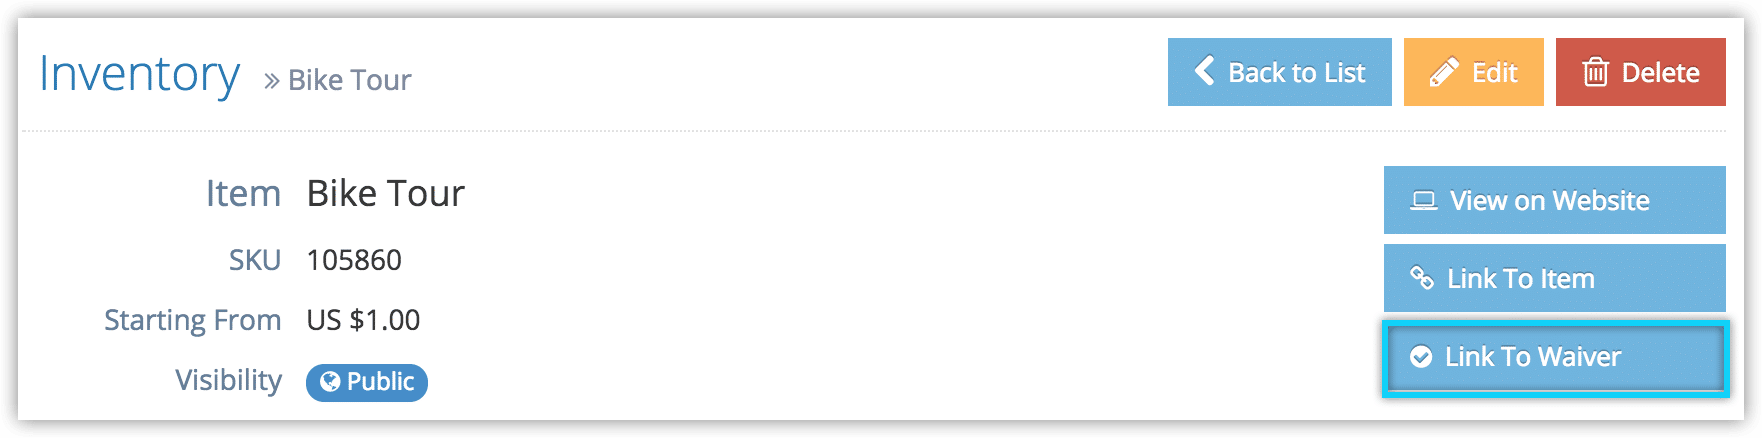
This will provide you with links and a QR code that can be used to open the item’s waiver.
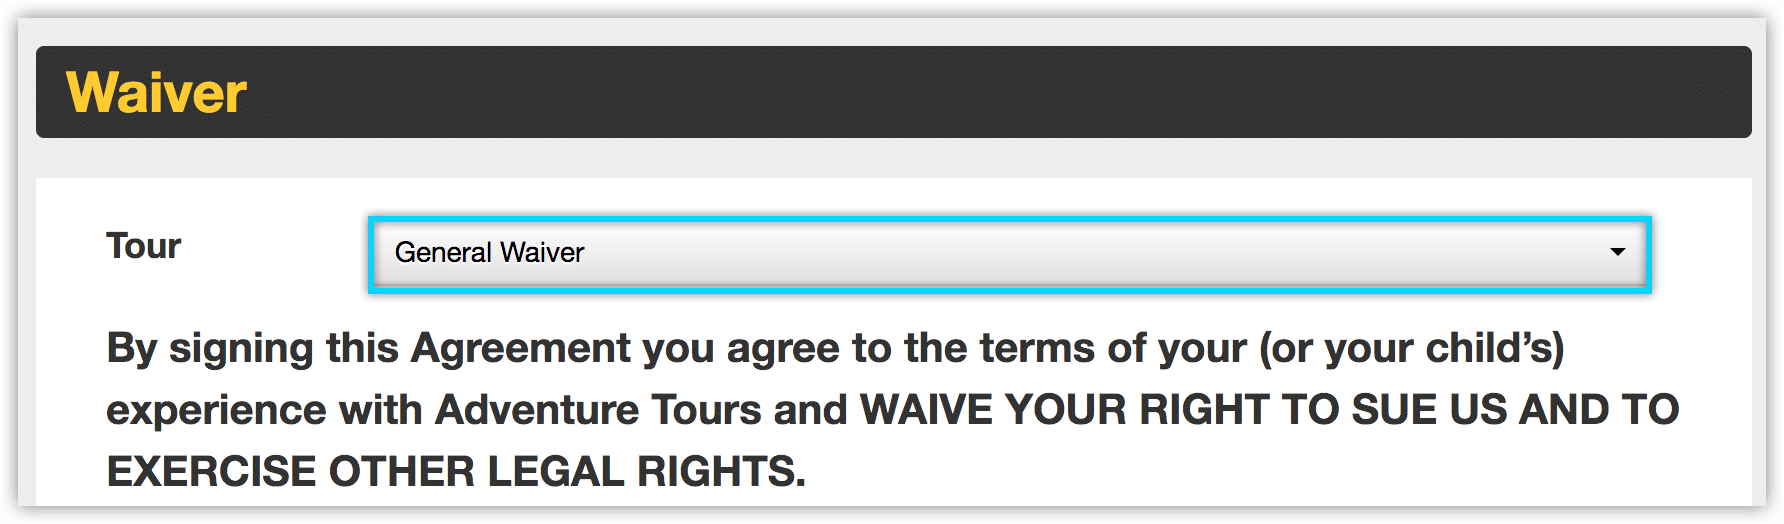
You can also link to the waiver page directly at yourdomain.rezgo.com/waiver (replace “yourdomain” with your Rezgo subdomain). On the waiver page, customers can select whether to sign a general waiver — one without any item-specific content — or a waiver for a specific item.
Attaching the Waiver
Once the waiver is signed, it will wait in an unattached waivers queue. To connect it to a guest, navigate to the booking’s details page.
1. Click the action button next to the guest whose waiver needs to be attached.
2. Click Attach a Signed Waiver.

3. Click the waiver you want to attach from the list of unattached waivers.
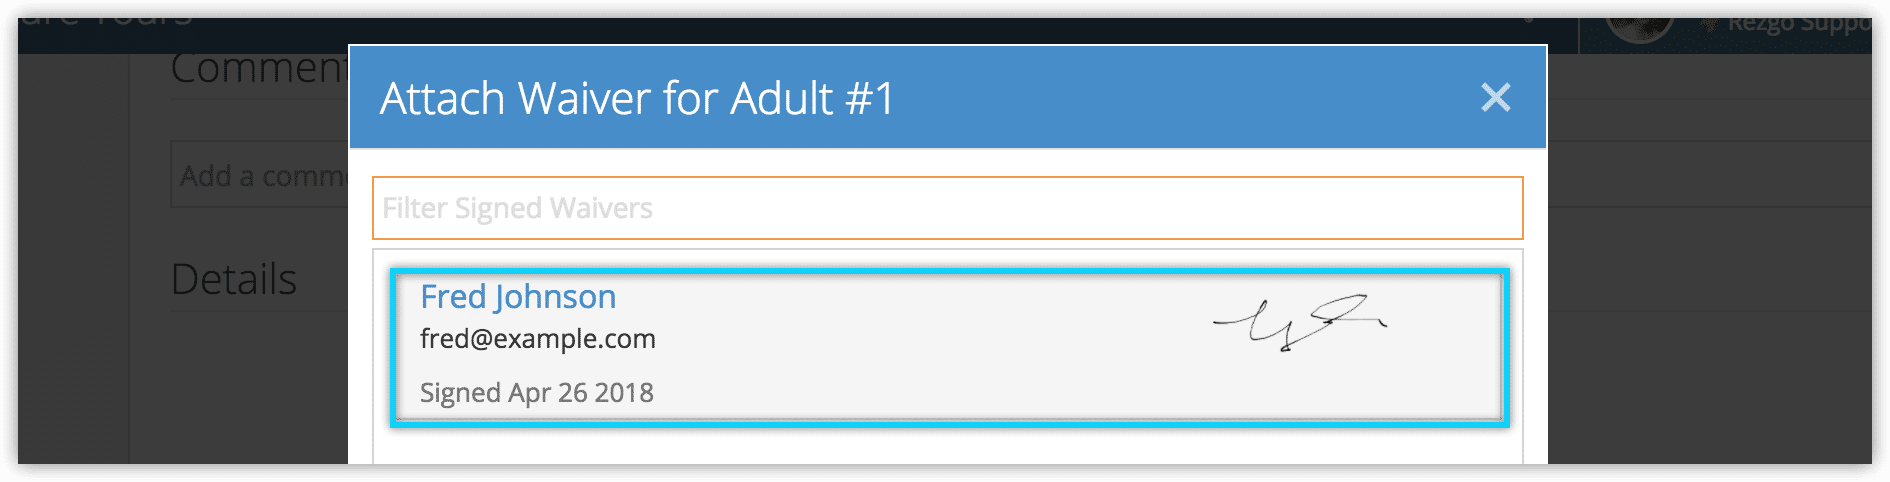
4. Click OK to confirm.
Sign from the booking details page
If there are unsigned waivers, you’ll be shown an alert on the booking details page:

Under Group Information, you can see the guests who still need to sign.
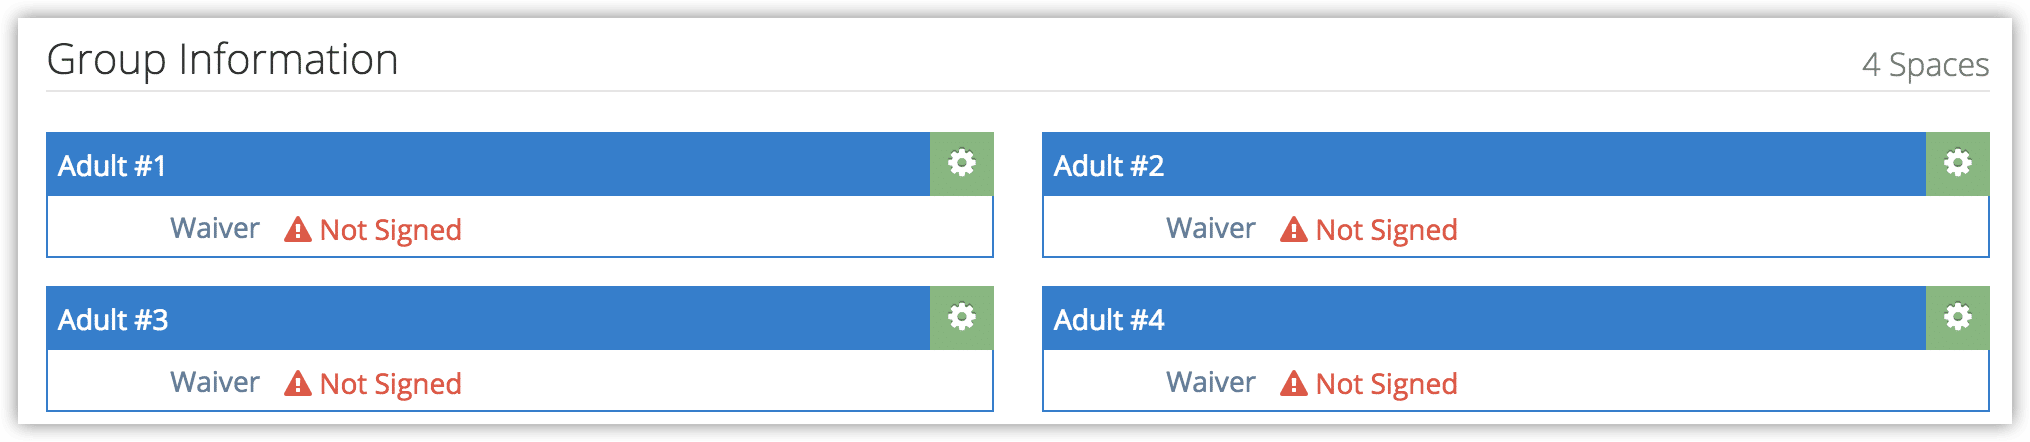
If guests are present and you don’t want to use a custom link, you can have them sign directly from this page.
1. Click the action button next to one of the guests who needs to sign.
2. Click Sign a New Waiver.

3. Present the waiver to the customer. They will need to follow these steps:
- Read the waiver.
- Confirm if they are signing on behalf of a child.
- Fill out name, phone number, email address and birth date to confirm that they accept the terms of the waiver.
- Tap anywhere they’re asked to initial the waiver. They can initial with their finger, a stylus or a mouse, depending on your device, then click Save.
- Tap Sign Waiver.
- Sign in the space provided. As with initials, you may want them to use their finger, a stylus, or a computer mouse. They can tap Undo if they want to remove their last stroke, or clear to redo their signature entirely.
- Tap Save.
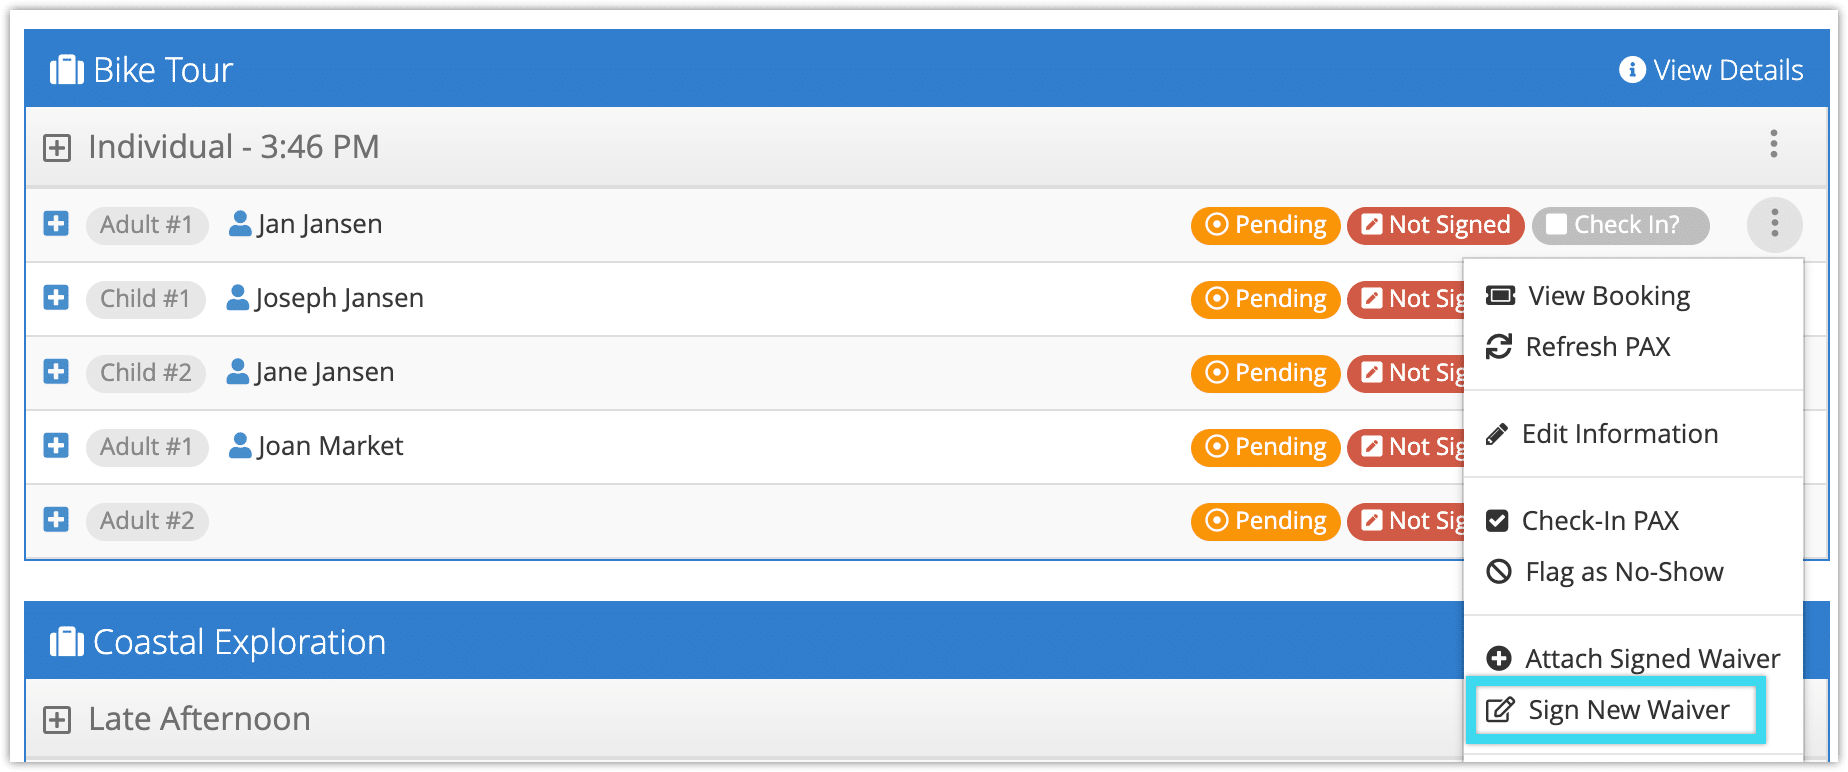
From the Daily Manifest
When viewing a day’s PAX in the daily manifest, you can see whether any still need waivers signed.
If they do, click the action button next to the guest.
2. Click Sign New Waiver.
3. Present the waiver to the customer. They will need to follow these steps:
- Read the waiver.
- Confirm if they are signing on behalf of a child.
- Fill out name, phone number, email address and birth date to confirm that they accept the terms of the waiver.
- Tap anywhere they’re asked to initial the waiver. They can initial with their finger, a stylus or a mouse, depending on your device, then click Save.
- Tap Sign Waiver.
- Sign in the space provided. As with initials, you may want them to use their finger, a stylus, or a computer mouse. They can tap Undo if they want to remove their last stroke, or clear to redo their signature entirely.
- Tap Save.
Viewing and Printing Waivers
For information on viewing and printing signed waivers, please read the article at this link.
*Please note that SMS messaging needs to be enabled to send SMS notifications. Additional charges apply.