
If your inventory is assigned to service providers, you can reconcile the cost owed to those providers for your records. Only checked-in bookings can be reconciled, so make sure all relevant bookings are checked in first.
First, navigate to Bookings > Reconciliations in the main menu. If that menu item isn’t available, your user account may not have access, or you may need to enable it by customizing your menu layout.
1. Click Create Reconciliation.

2. Select the reconciliation type from Invoice (for collecting payment from a sales agent) or Payout (for paying a supplier or service provider).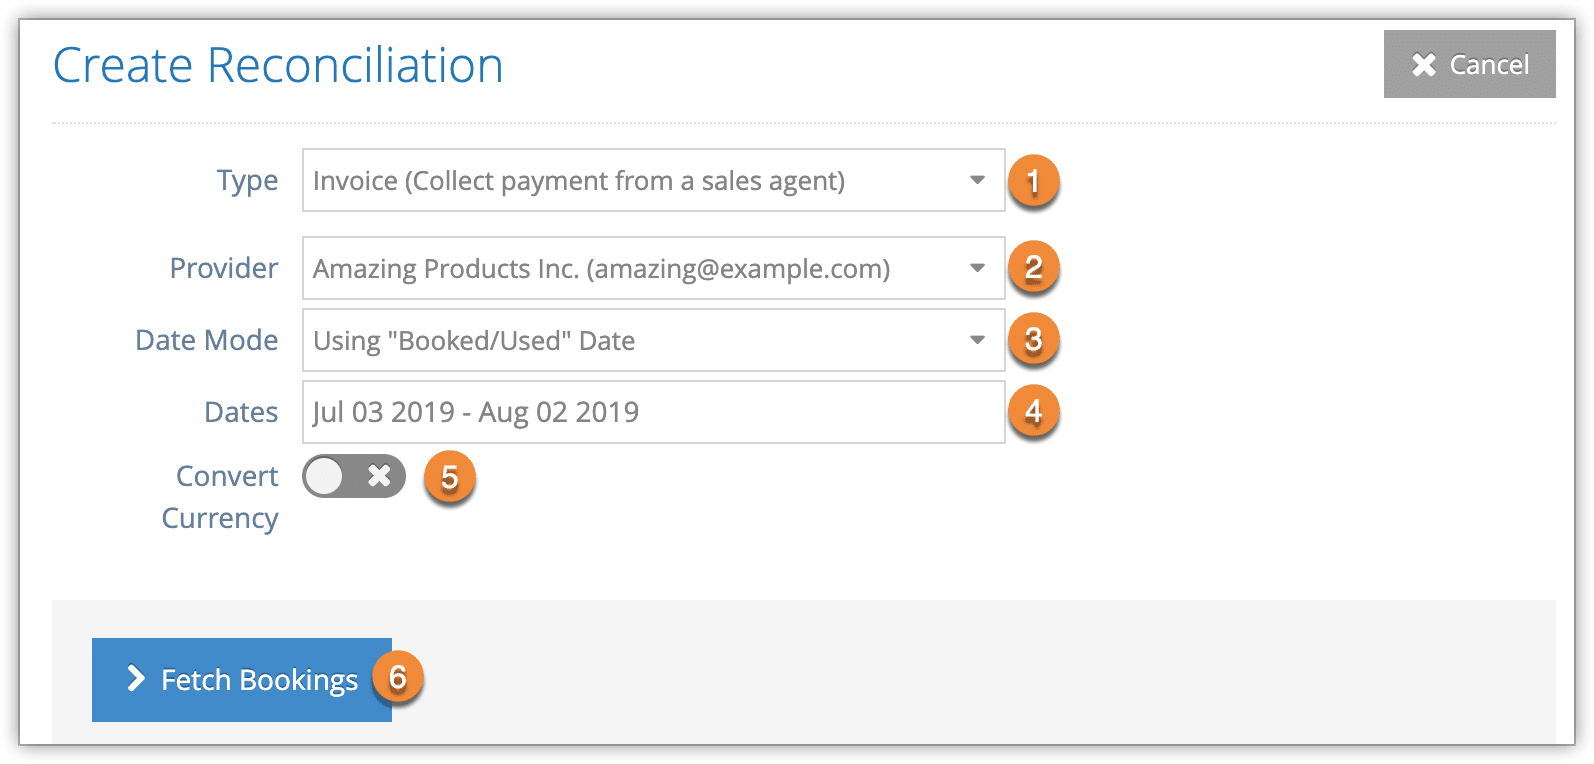
3. Select the provider who is being invoiced or paid out (2).
4. Select whether the reconciliation should include bookings with booked-for/used dates, checked-in dates or purchase dates in the date range (3).
5. Set a date range (4).
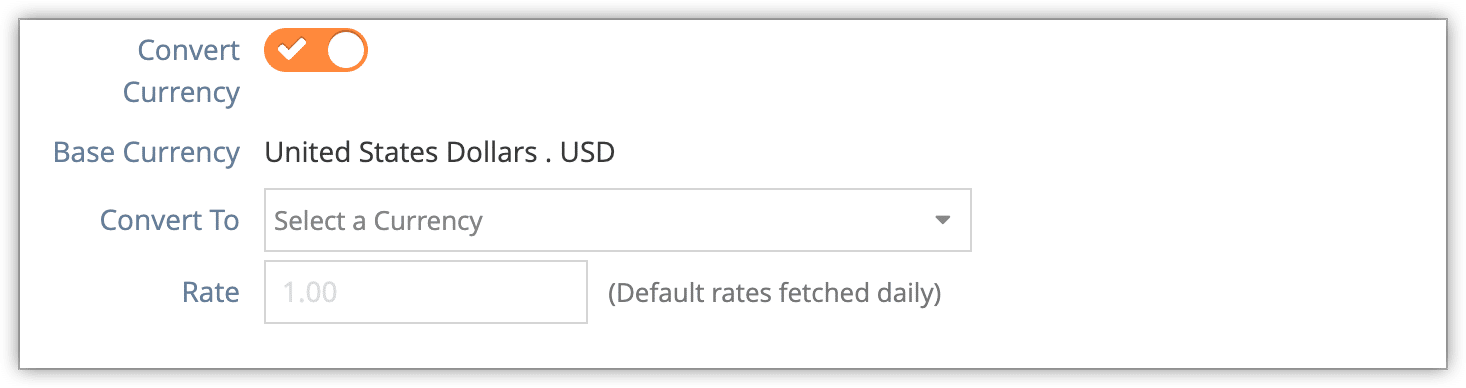
6. Toggle whether or not currencies should be converted (5).
– If your provider uses a different currency than your business, you may want to invoice in their local currency. If so, activate this toggle, then select the currency. Conversion rates are automatically updated daily, but you can also set your own conversion rate as needed.
7. Click Fetch Bookings (6).
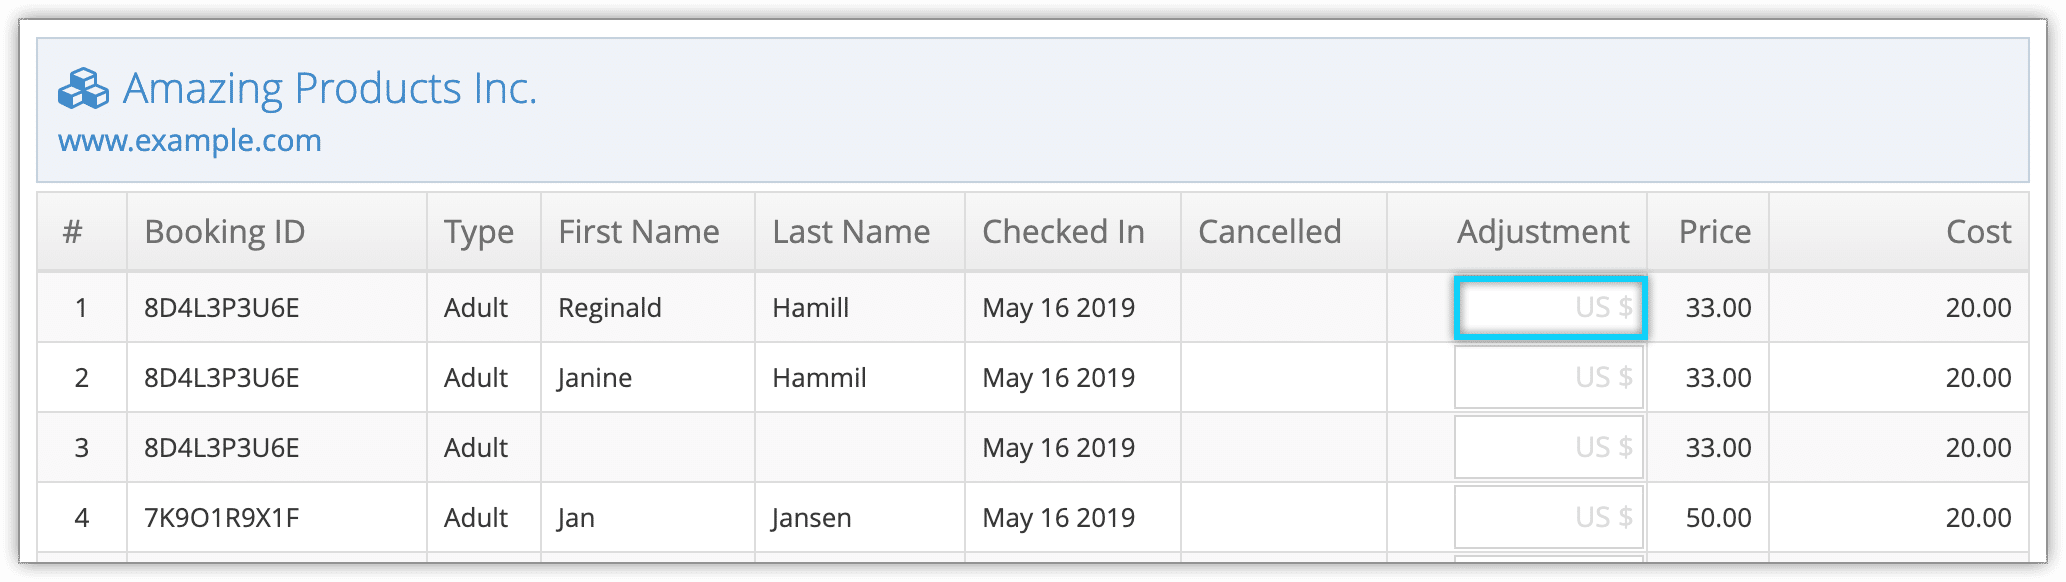
The reconciliation report will include all checked-in PAX from inventory items that were assigned to the selected service provider at the time of booking.
8. Enter a reference or ID number in the ID Number field.

9. Look over the amounts to ensure that they’re correct. If any adjustments need to be made, you can enter them as positive or negative values in the Adjustment fields.
9. Add any manual lines you need to include by clicking the + button (7).

10. Click Add Line Items to any necessary taxes or fees (8).
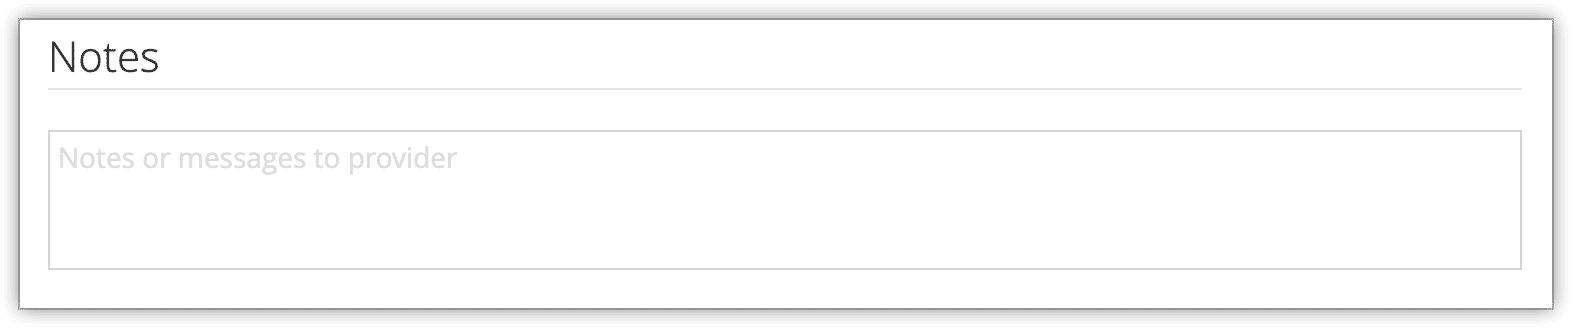
11. Add any notes or messages for the provider/agent in the Notes field.
11. Click Create Reconciliation when you’ve confirmed the total cost price to be paid to the provider or requested from the agent.
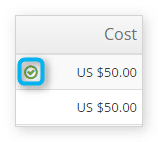
When a PAX has been reconciled, a check mark appears next to the cost for that line, which will no longer be added to later reconciliation totals even if that PAX is included in the report.
Email the payout or invoice
Once you’ve created a payout or invoice, you can print (1), email it (2) to any email address, download a PDF (3) or save the rows to .CSV (4).

1. Click Email Payout or Email Invoice (2) to send a formatted invoice or payout notice (you can preview it by downloading it as a PDF).
2. Fill out the recipient’s name (1), email address (2), and a message for the body of the email (3).
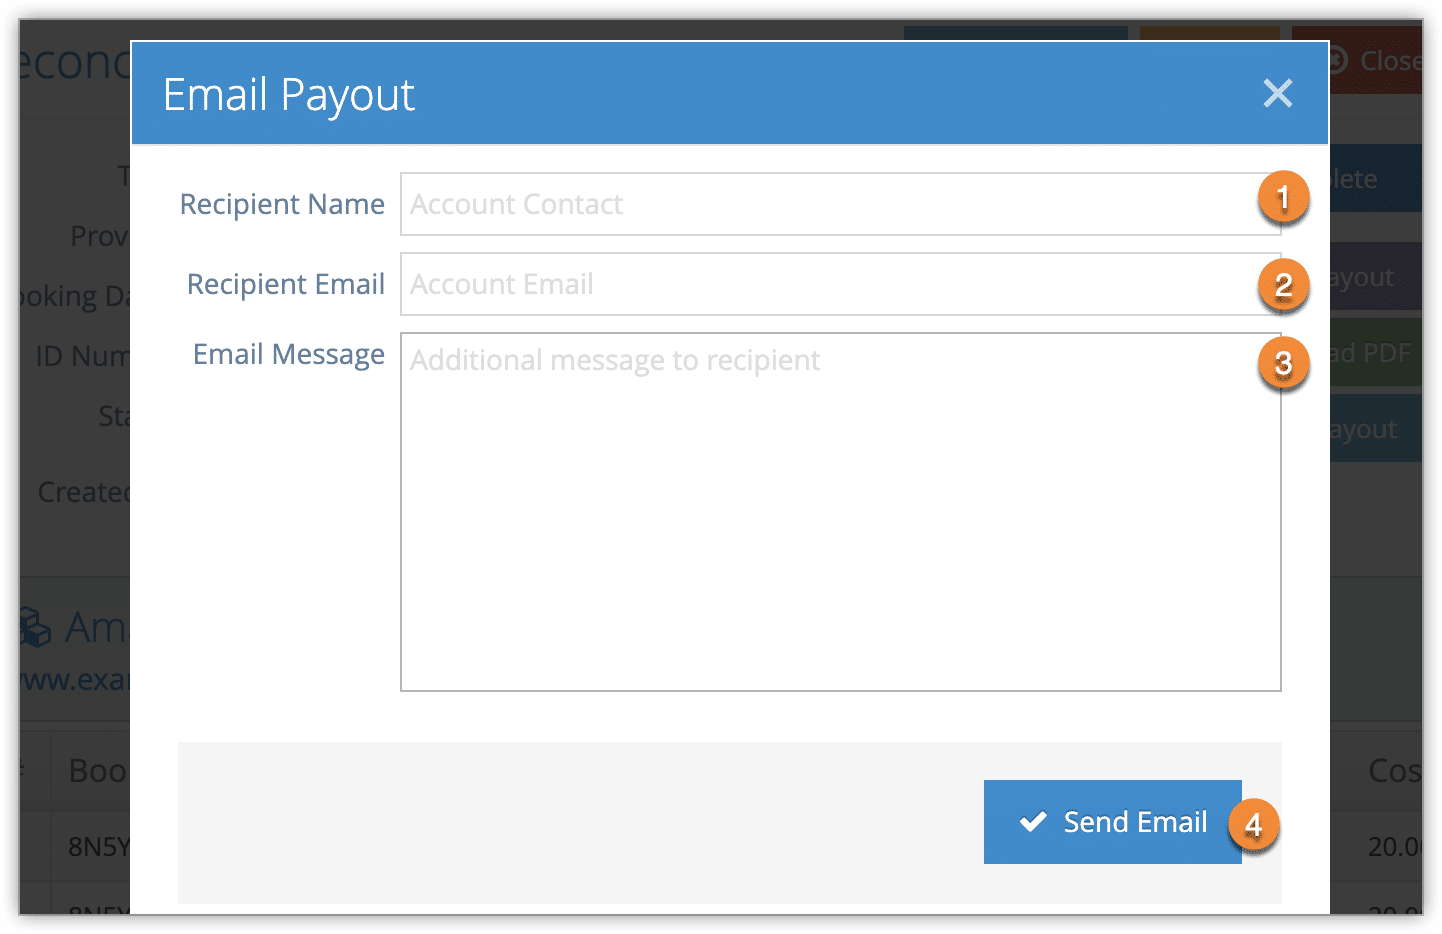
If the service provider already has an accounting contact associated with it, the first two fields will be automatically filled with their information.
3. Click Send Email.
Complete the reconciliation
When you’re ready to prepare the payment to the provider or you’ve received payment from the agent, you can complete the reconciliation and record the payment information for your records.
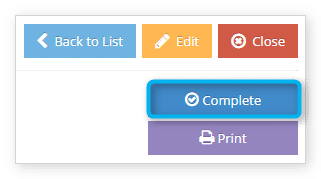
1. Click Complete on the reconciliation page.
4. Enter the check, payment or reference ID in the field provided. Please note that reconciling providers doesn’t pay those providers – it simply marks them as reconciled within Rezgo.
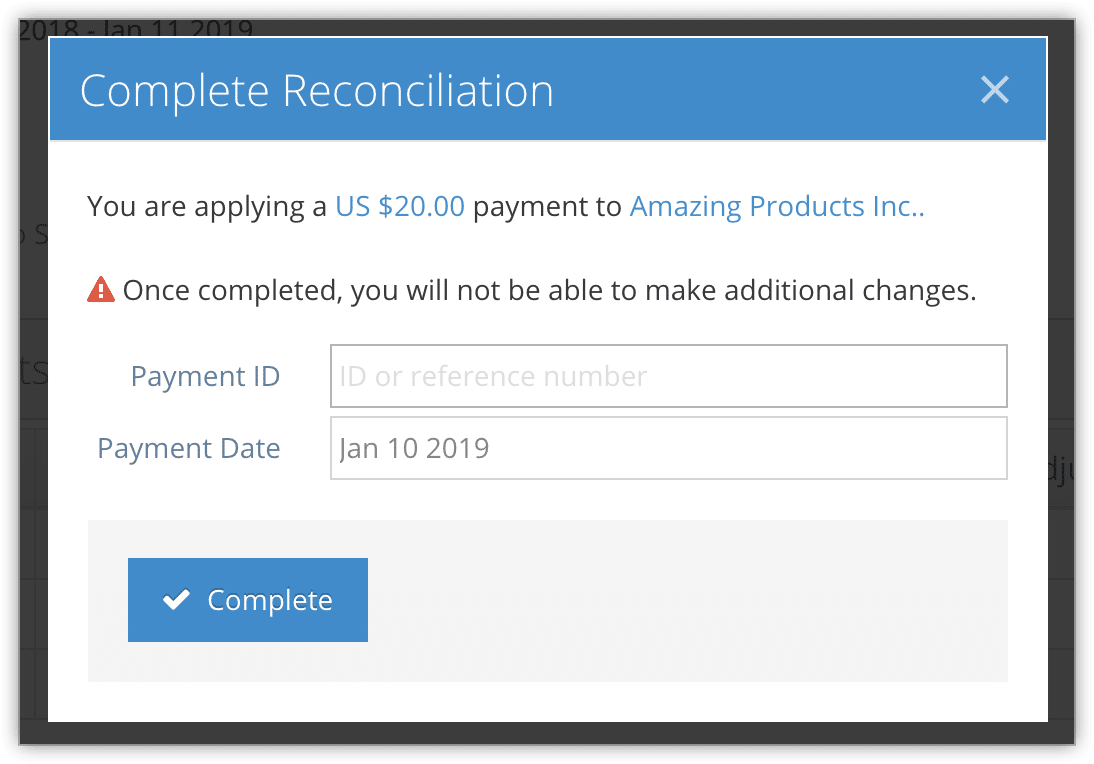
4. Click Complete.
When a reconciliation has been completed, its completion time will be recorded.