
Rezgo makes it easy for your customers to book online, but you can also take bookings manually (over the phone or in person, for example). You can do this directly from the Rezgo back end.
Note that back-end/POS bookings are billed at the back-end transaction rate.
To create a point-of-sale booking, follow these steps:
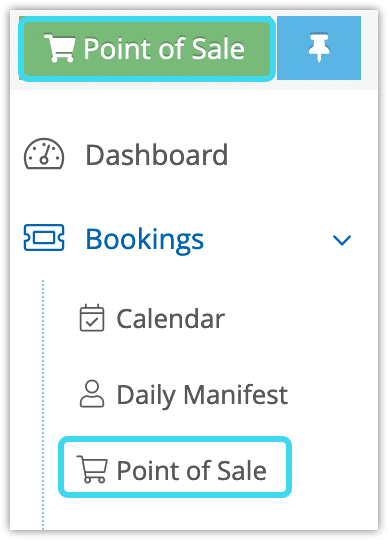
1. Click Point of Sale in the main menu or under Bookings > Point of Sale.
2. Search for the option your customer wants to book. You can use a variety of criteria: item name, option name, date, available promo codes, location, service provider, or minimum availability, as well as combinations of those criteria.
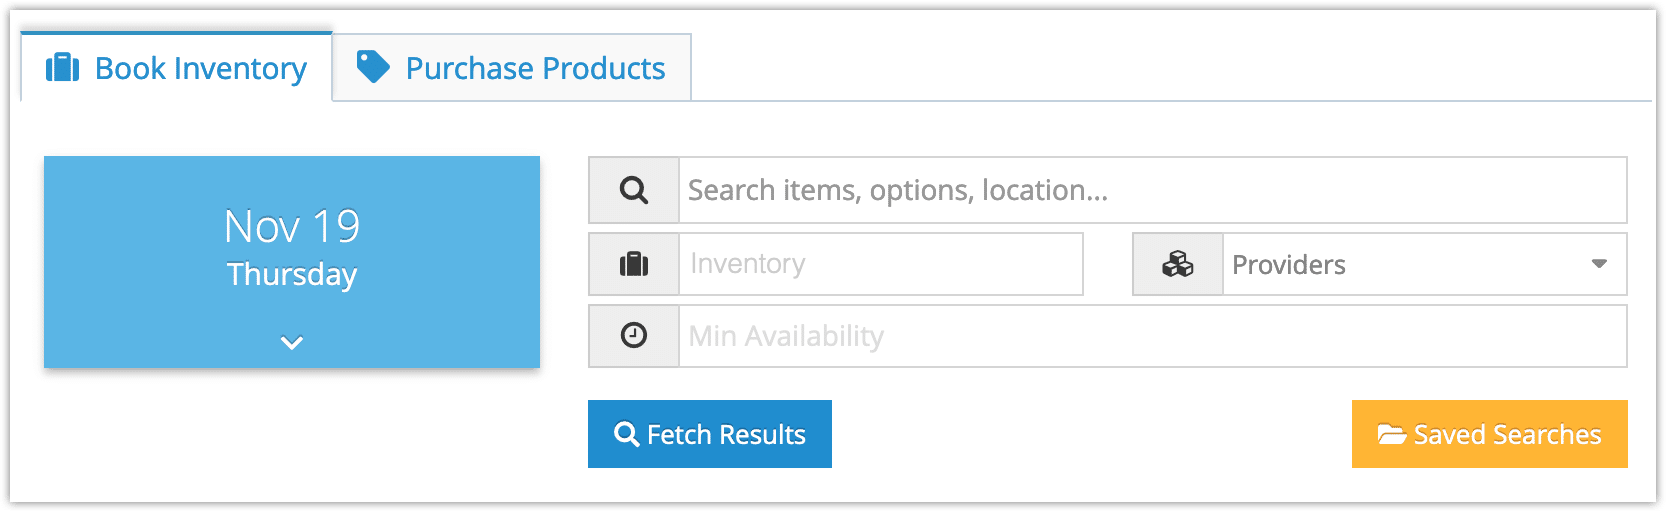
To search by date, click the date picker and click the date you want to book. To search by date range, click and drag over the date range you want to search. You can search for up to a week at a time.
3. Once you’ve narrowed down the specific option your customer wants to book, click that option in the search results. You can also click View Details to look at the item’s details page or to see it on your Rezgo website.

4. Enter the number of passengers to be booked (1) for every pricing tier. You can see the age range, price, cost price and commission for every tier.
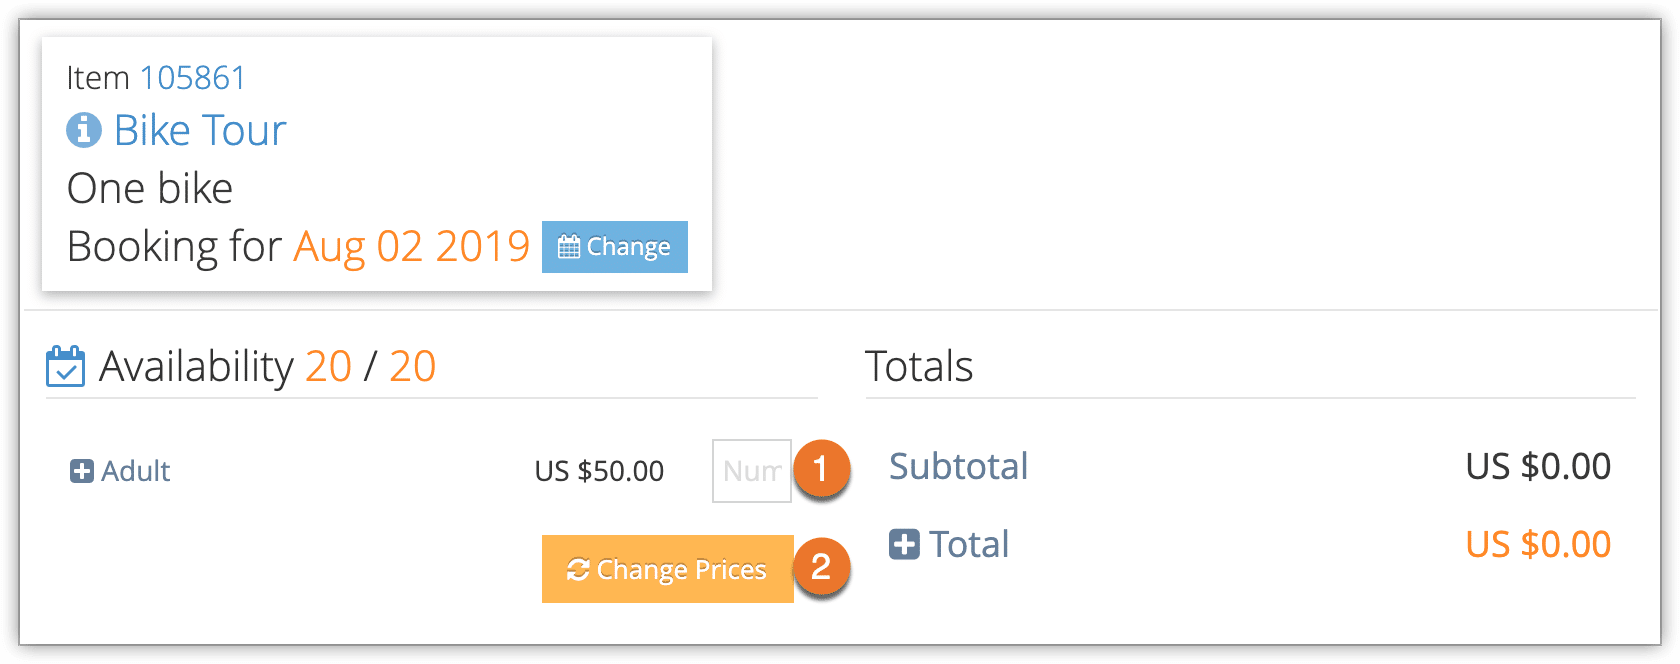
-Make any price adjustments that are required (2).
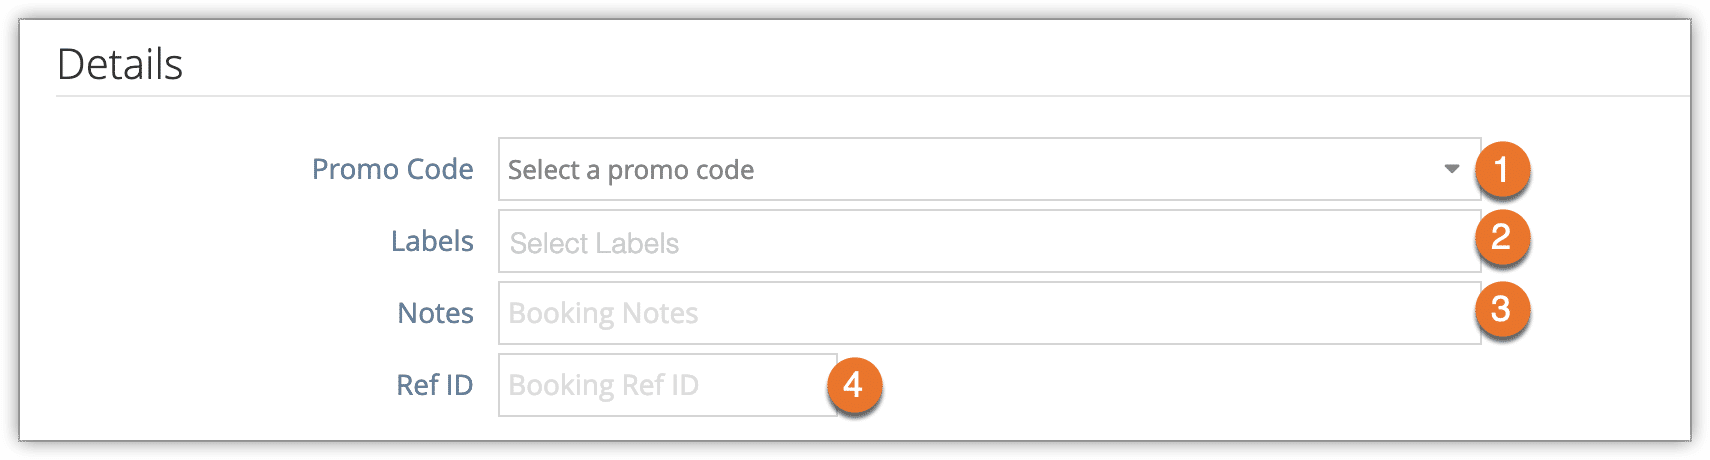
- Select a promo code if needed (1).
- Select any booking labels (2).
- Enter booking notes (3).
- Enter a reference ID, if needed (4).

– Add the customer’s pickup location, if available.
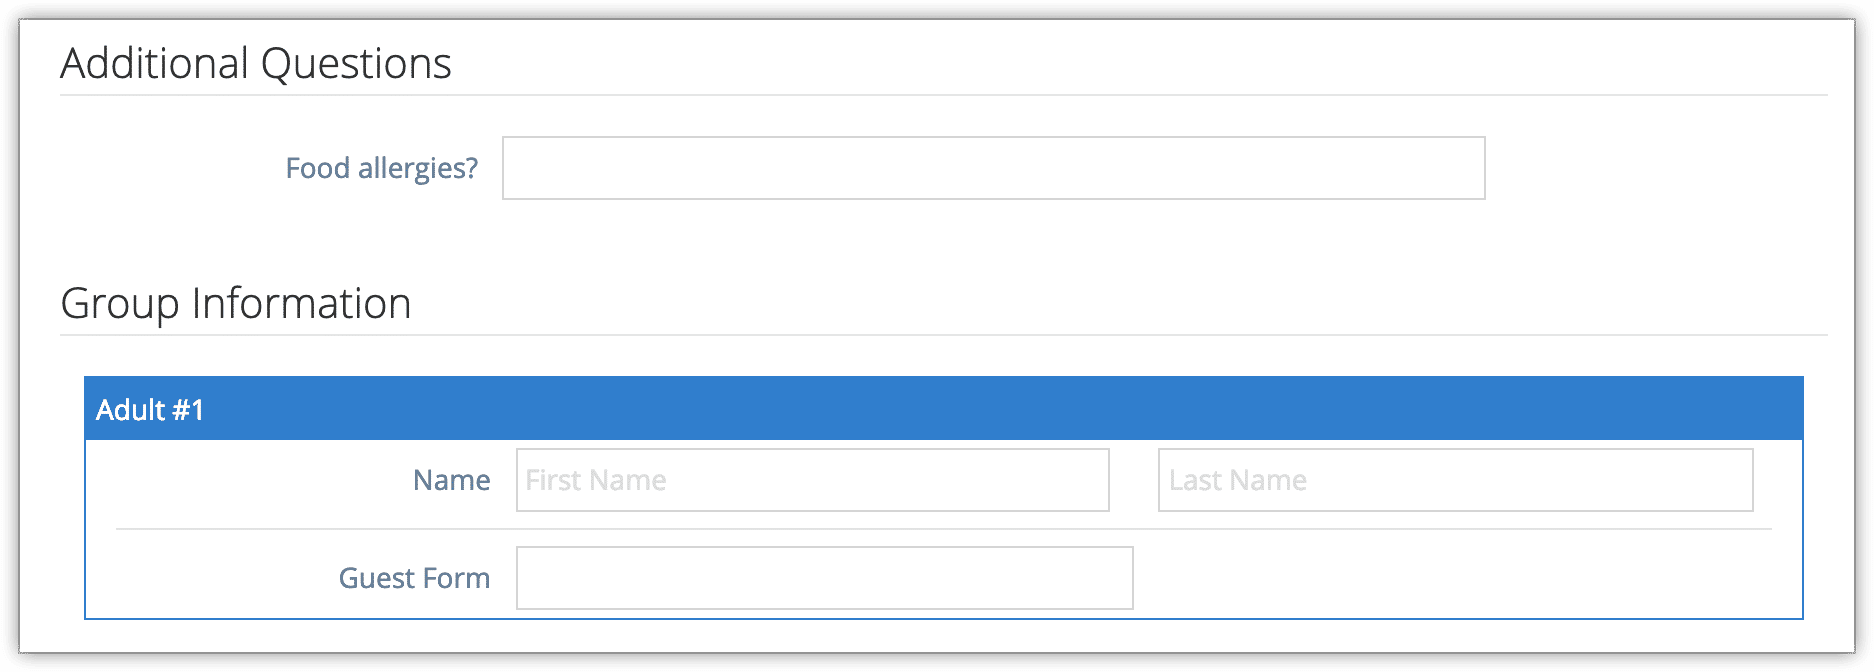
5. Fill out group information and additional questions, or return to these on the edit booking page after completing the order.
6. Click Add to Order.
7. Repeat steps 2-5 for any additional bookings you want to add to the order.
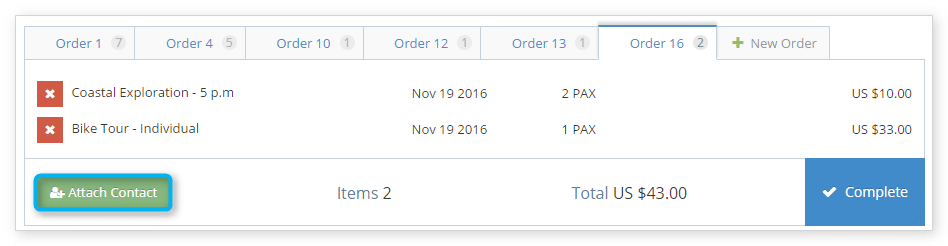
8. Click Attach Contact to add a contact to the order. This will also attach custom contact fields to the order.
– To use an existing contact, you can select the contact from the dropdown list or search for it by entering the contact’s name or address in the search box.
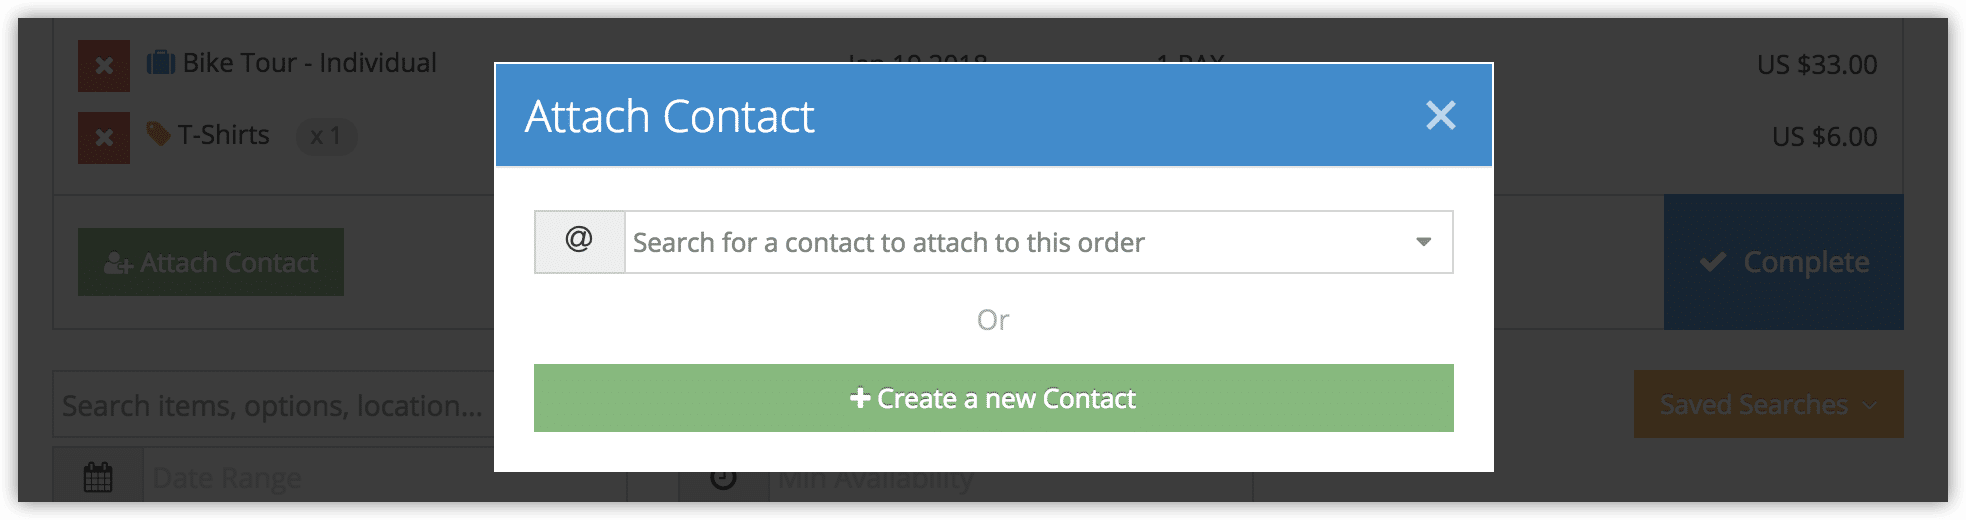
– To add a new contact, click Create a New Contact. You will be taken to the add contact page to add the contact’s details, then returned to the order when you click Save Changes.
9. When you finish adding bookings, click Complete.
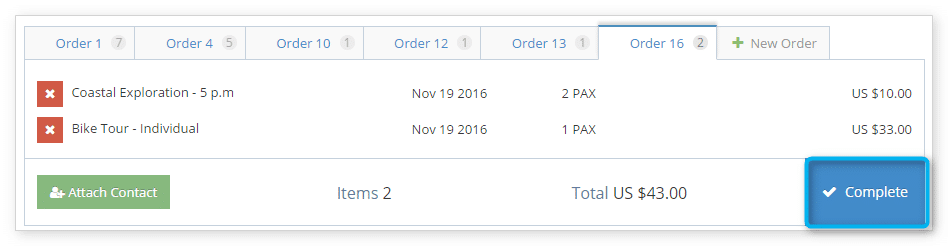
When the order is completed, you will either be taken to the Order page or the Booking page depending on your account’s settings.
From the Order page, you can set the order status, get an order receipt, manage the bookings, navigate to individual booking details and edit pages, and add transactions to the order.
From the Booking page, you can manage the booking’s status, receipts, tickets, check-in, and notifications, move the booking, view its history, add transactions as needed.
Or you can edit the booking , where you can enter all the additional information you need, including passenger information, billing information, line items, and required deposits.
Create a booking from the Inventory list
You can also create a booking directly from the inventory list. First, locate the inventory you want to book.
1. Click the action button next to the inventory option you want to book.

2. Click Create Booking.
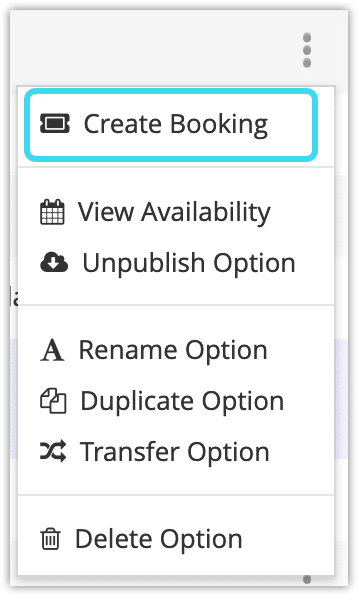
3. Continue from step 3 above.
Note that back-end/POS bookings are billed at the back-end transaction rate.
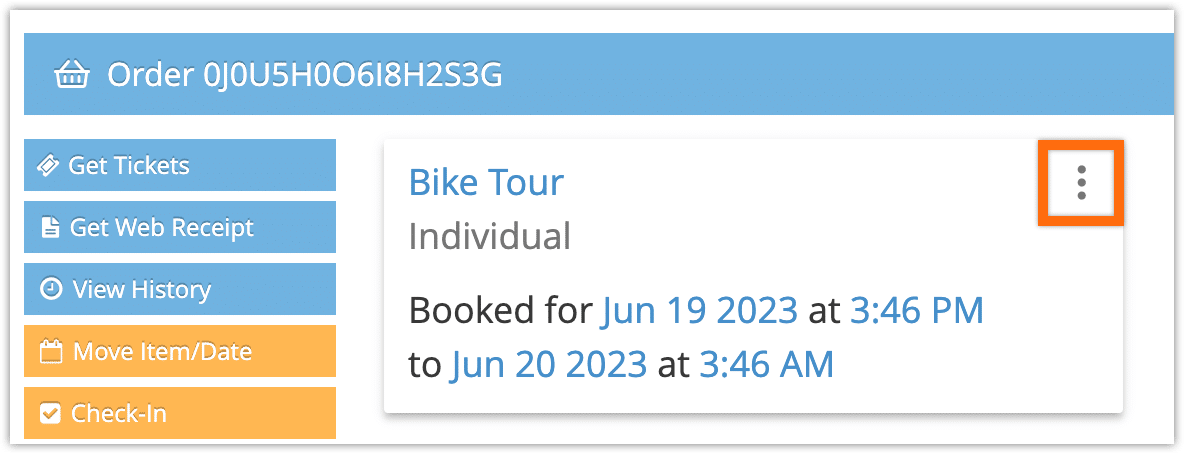
Create a booking from an existing booking
If you want to create a booking for the same date and option as an existing booking, you can save time by creating it from the booking.
First, visit the booking.
1. Click the action button on the booking details.
2. Click Book More Like This.
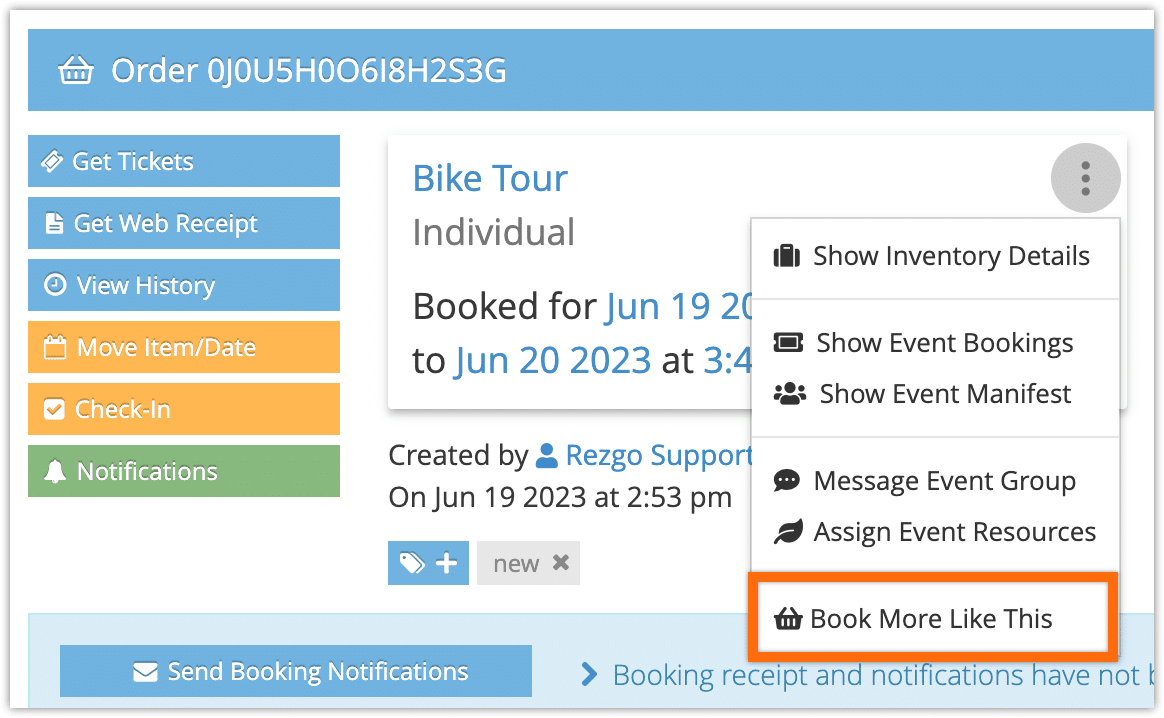
This will open a point-of-sale search for the same date and option. You can continue from Step 3 above.