
When a guest arrives for their booking, you can check them in through Rezgo. This will finalize the booking in the system.
Check in with a ticket
Bookings can be checked in with their tickets in one of two ways (note that you may need to enter a security PIN before checking in a ticket, depending on your Rezgo account settings):
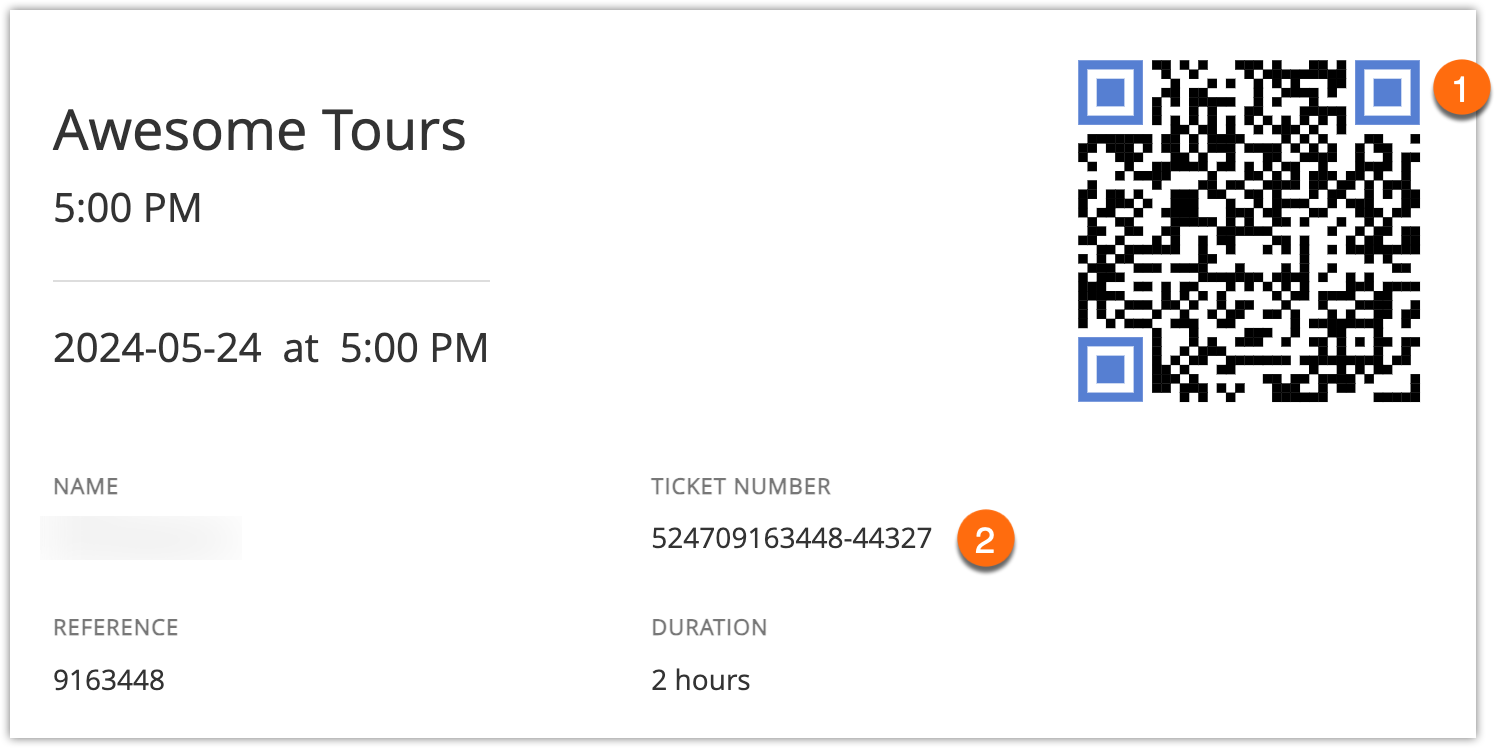
A. Scan the QR code (1) on the ticket with Rezgo Scan, your camera app, or a QR code reader on a smartphone.
B. Navigate to yourdomain.rezgo.com/checkin/ and enter the ticket/voucher number listed on the ticket (2). (You can also create a check-in link that automatically assigns check-in location to a specific desk).
Click Check In when you finish entering numbers.
From the daily manifest
You can check in bookings for a single day or event from the daily manifest, found by navigating to Bookings > Daily Manifest in the main menu.
1. Search for the date or event you want to check in.
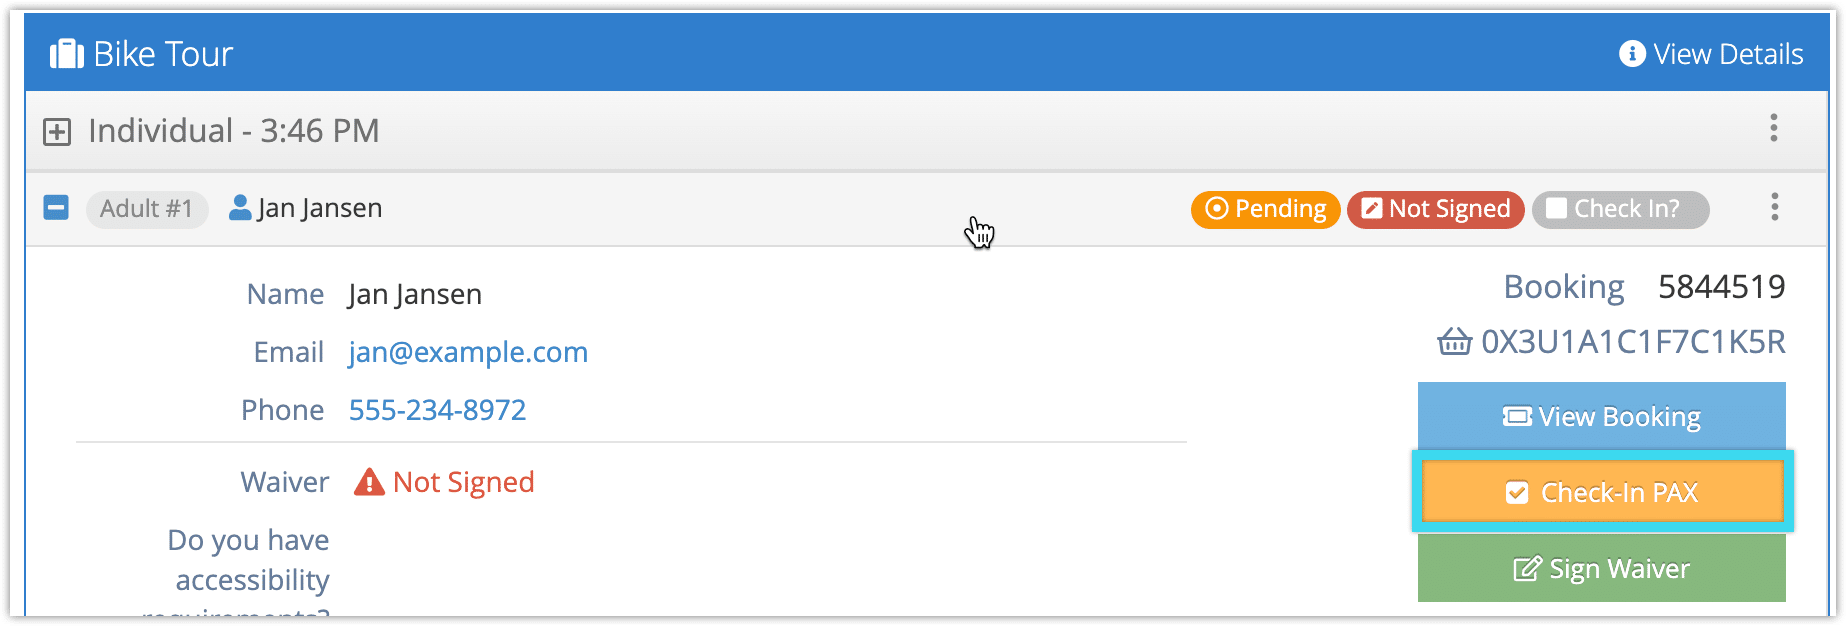
2. Check a guest in quickly by long-pressing or holding the Check In? button.
Or click the plus next to the PAX you want to check in.
3. Click Check-In PAX.
4. Click OK to confirm.
Check in a full booking from the daily manifest
You can check in all the guests for a single booking from the daily manifest as well.
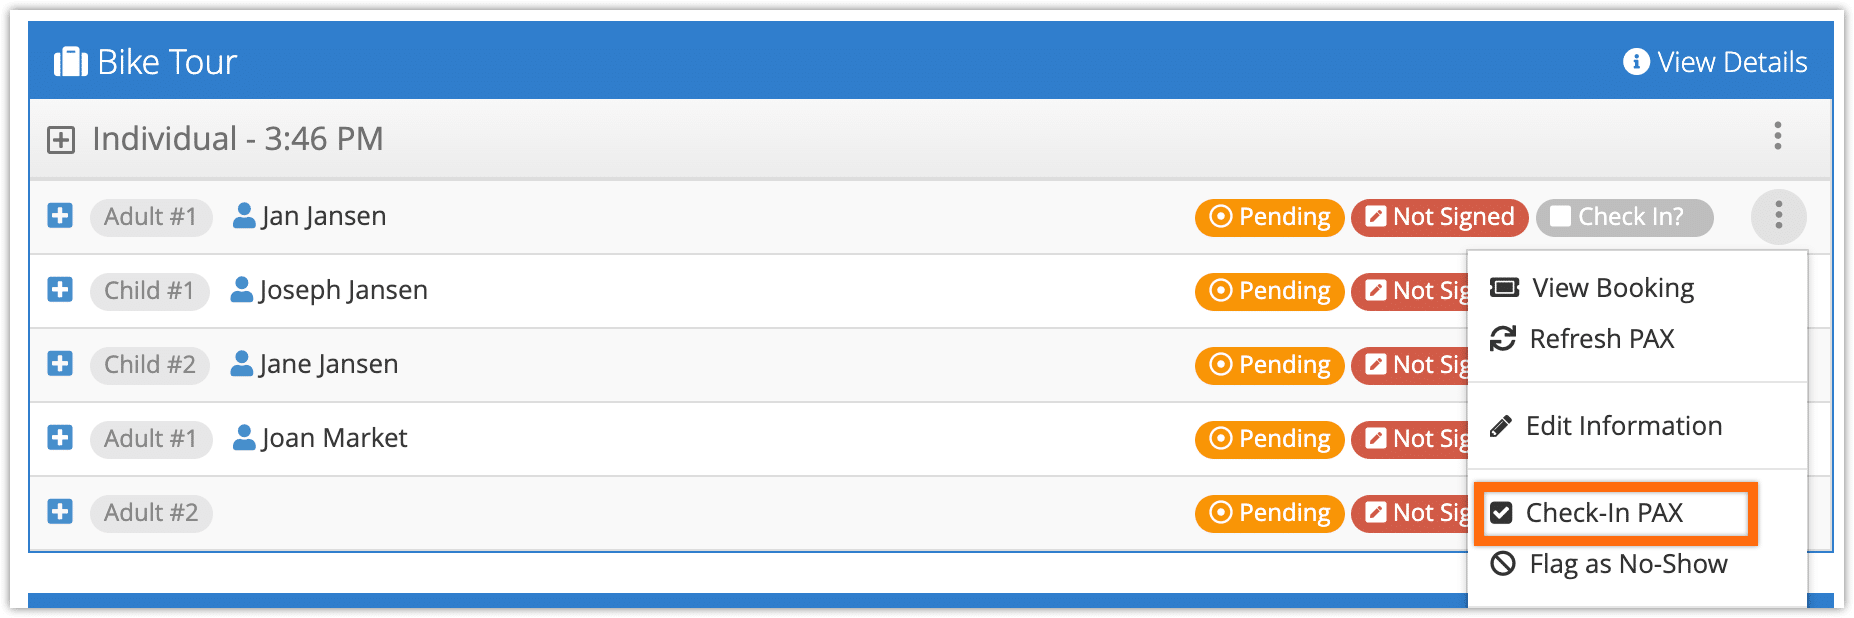
1. Click the action button next to one of the guests in the booking.
2. Click Check-In PAX.
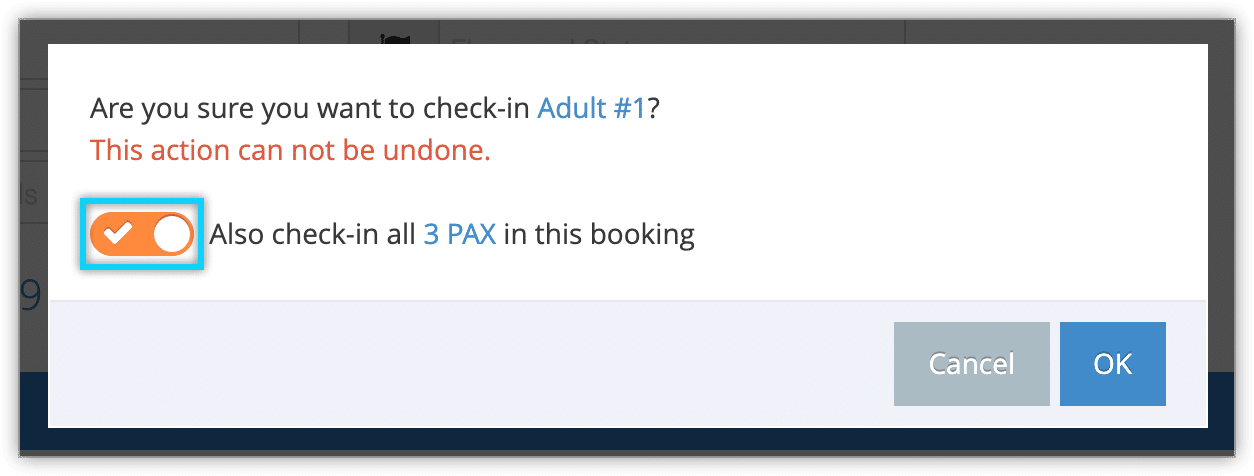
3. Click the toggle to check in the booking’s other guests.
4. Click OK.
Checking in a booking from the booking details page
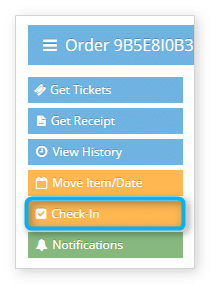
1. Navigate to the booking’s details page
2. Click Check-In.
3. Confirm that the booking should be checked in. The booking can no longer be modified once this is done.
Checking in one PAX from the booking details page
1. Locate the guest under Group Information.
2. Click the action button for the guest.
3. Click Check-In PAX.
4. Click OK to confirm.
Check in Open bookings
When an open availability booking is completed, it should be marked as used.
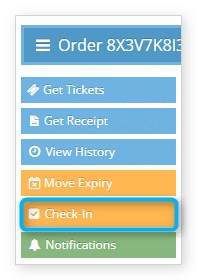
1. Navigate to the booking’s details page.
2. Click Check-In.
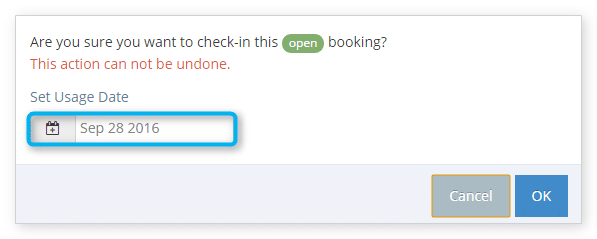
3. Enter the usage date – the date the booking should be marked as having been used on. This defaults to today’s date.
4. Click OK to confirm the check in.
From an Order
You can also check in a booking directly from the order page. First, navigate to an order.
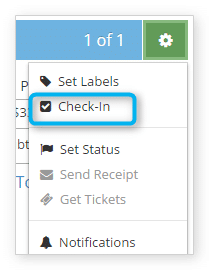
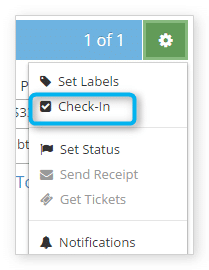
1. Click the action button next to the booking you want to check in.
2. Click Check-In.
3. Click OK to confirm.
Check in multiple bookings
You can check in multiple bookings from the bookings list or the dispatch manager.
From the bookings list
To check in multiple bookings at the same time, first navigate to Bookings in the main menu.
1. Click the check boxes next to the bookings you want to check in (1).
2. Click Action (2).
3. Click Check-In.
4. Click OK to confirm.
From the dispatch manager
By default, the dispatch manager will display today’s bookings. You can search by date, flags, inventory, and more as needed.
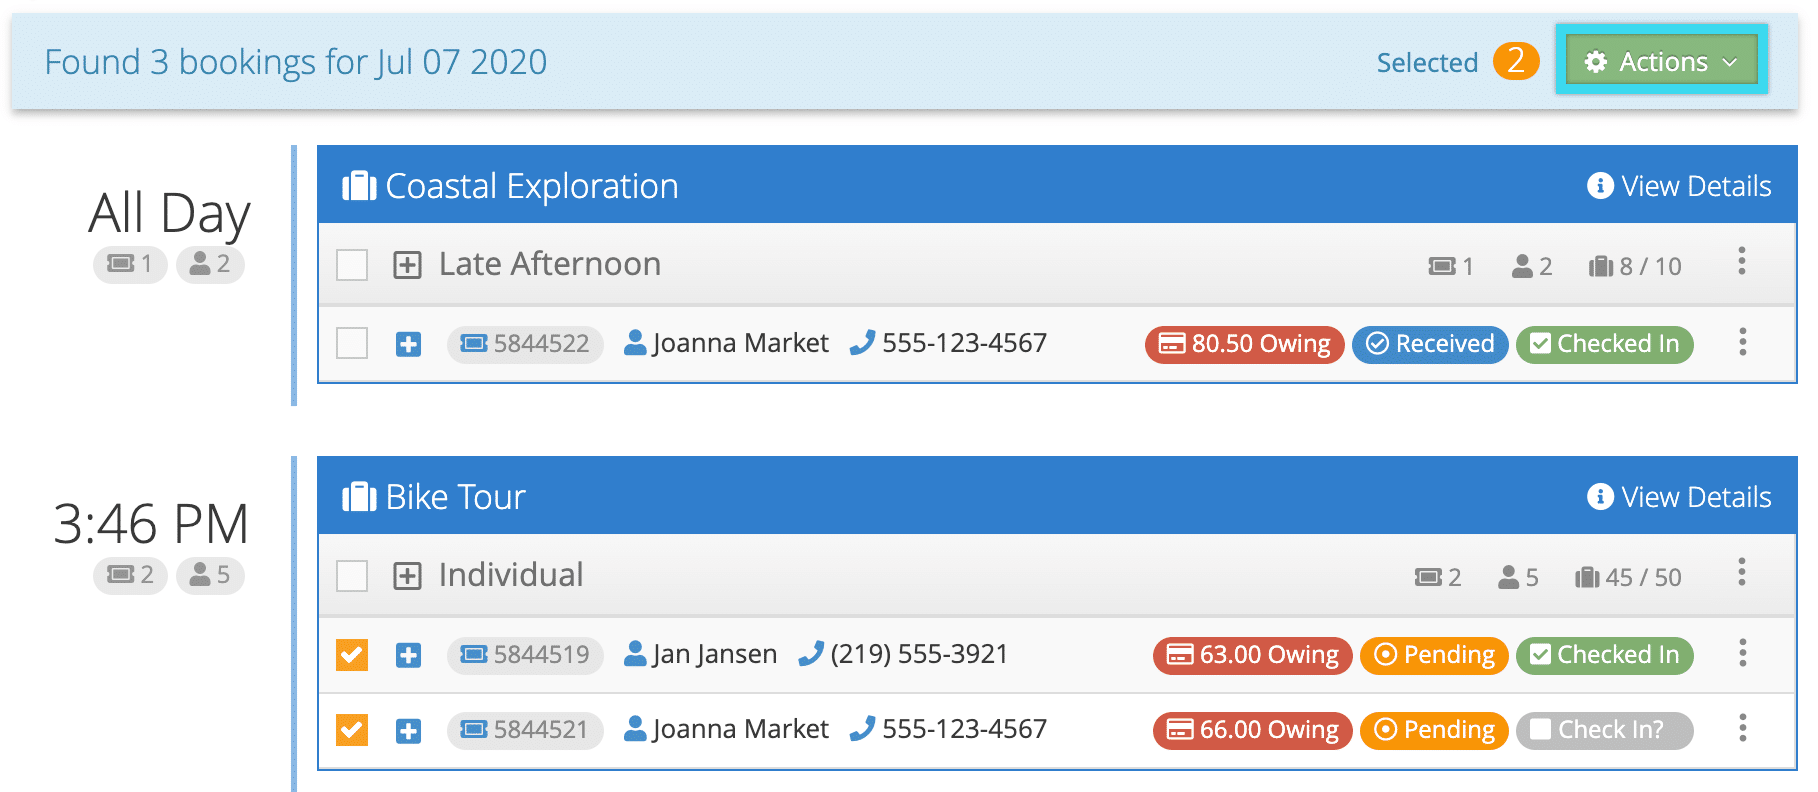
1. Locate the bookings you want to check in.
2. Click the checkboxes next to the bookings.
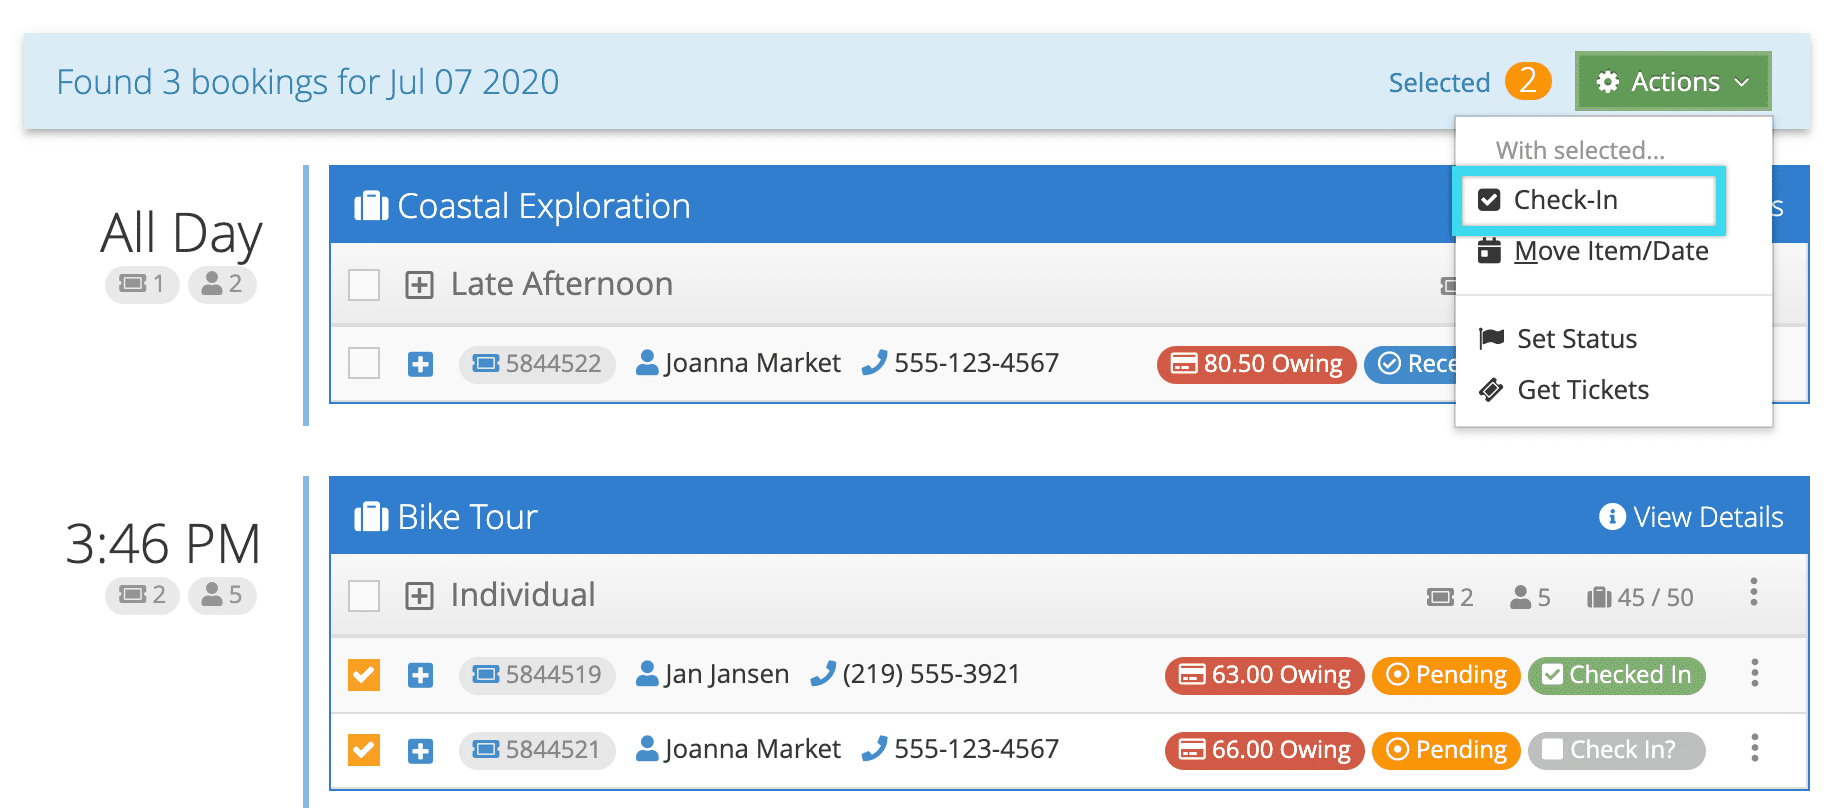
3. Click Actions in the search results header.
4. Click Check-in.
5. Click OK to confirm.










2 thoughts on “How to check in bookings”
Comments are closed.