
Like tour and activity inventory, merchandise can be sold through the Rezgo point of sale. First, navigate to Point of Sale in the main menu.
1. Click Buy Merchandise.

2. There are two ways to select merchandise to add to the order.
– Search for the merchandise you want to add to the order. You can use a variety of criteria: merchandise name, tags, variants, descriptions, and service providers, as well as combinations of those criteria.
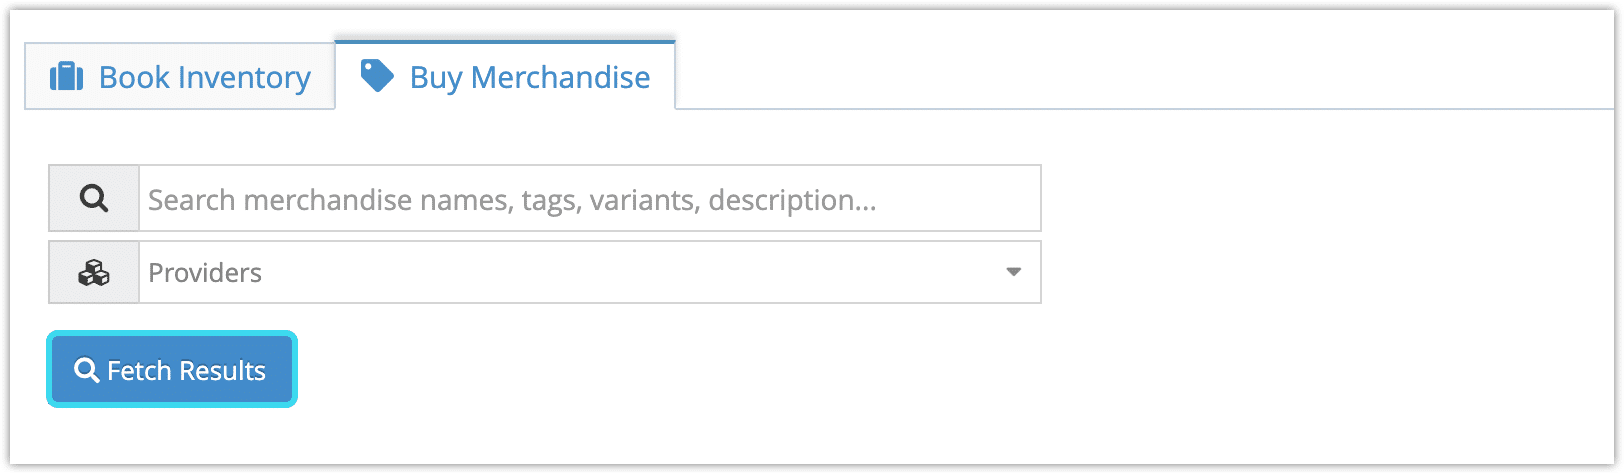
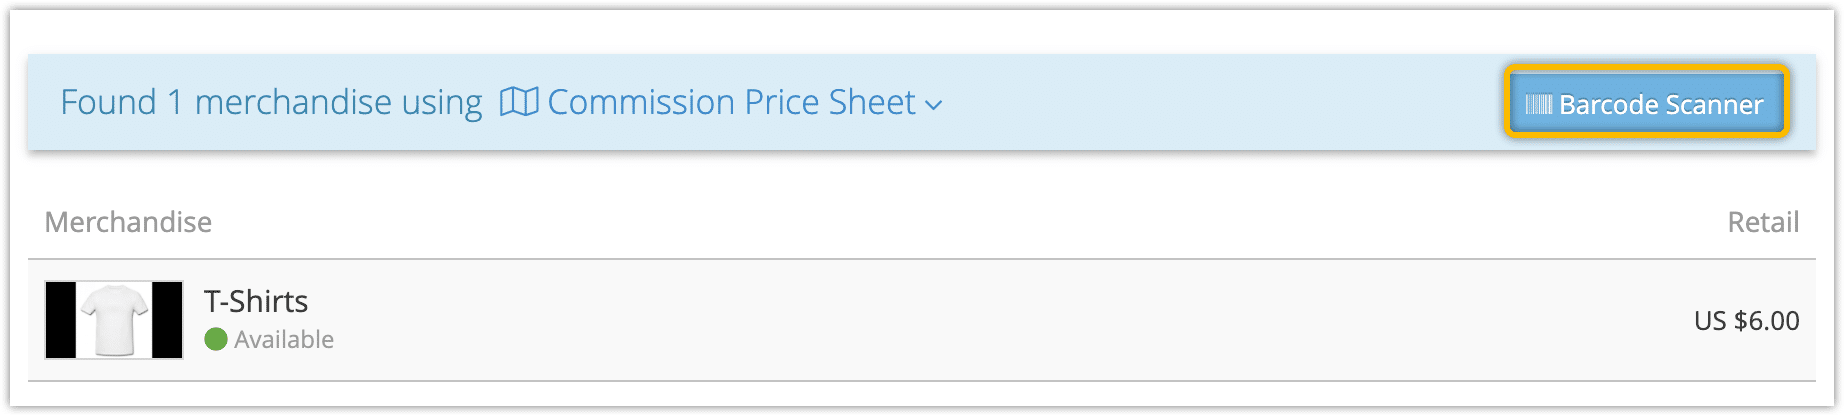
– Scan or paste a product SKU that matches a product in your list. To do so, click Barcode Scanner, then scan or paste the SKU.
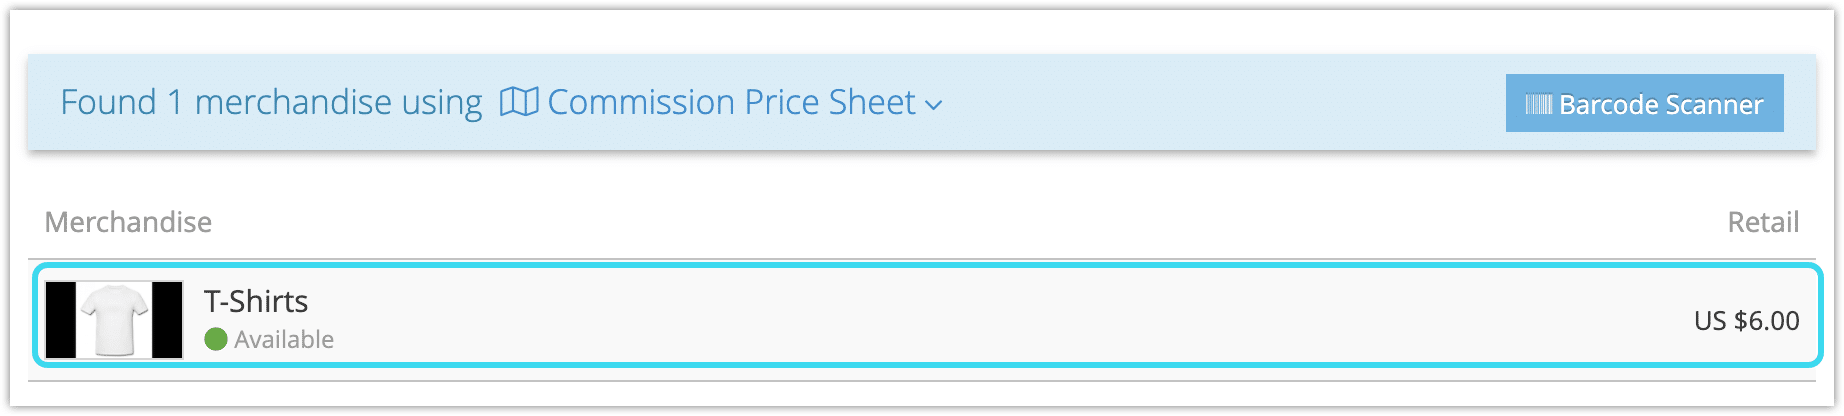
3. Select the merchandise you want to sell.
4. Enter the details of the merchandise purchase.
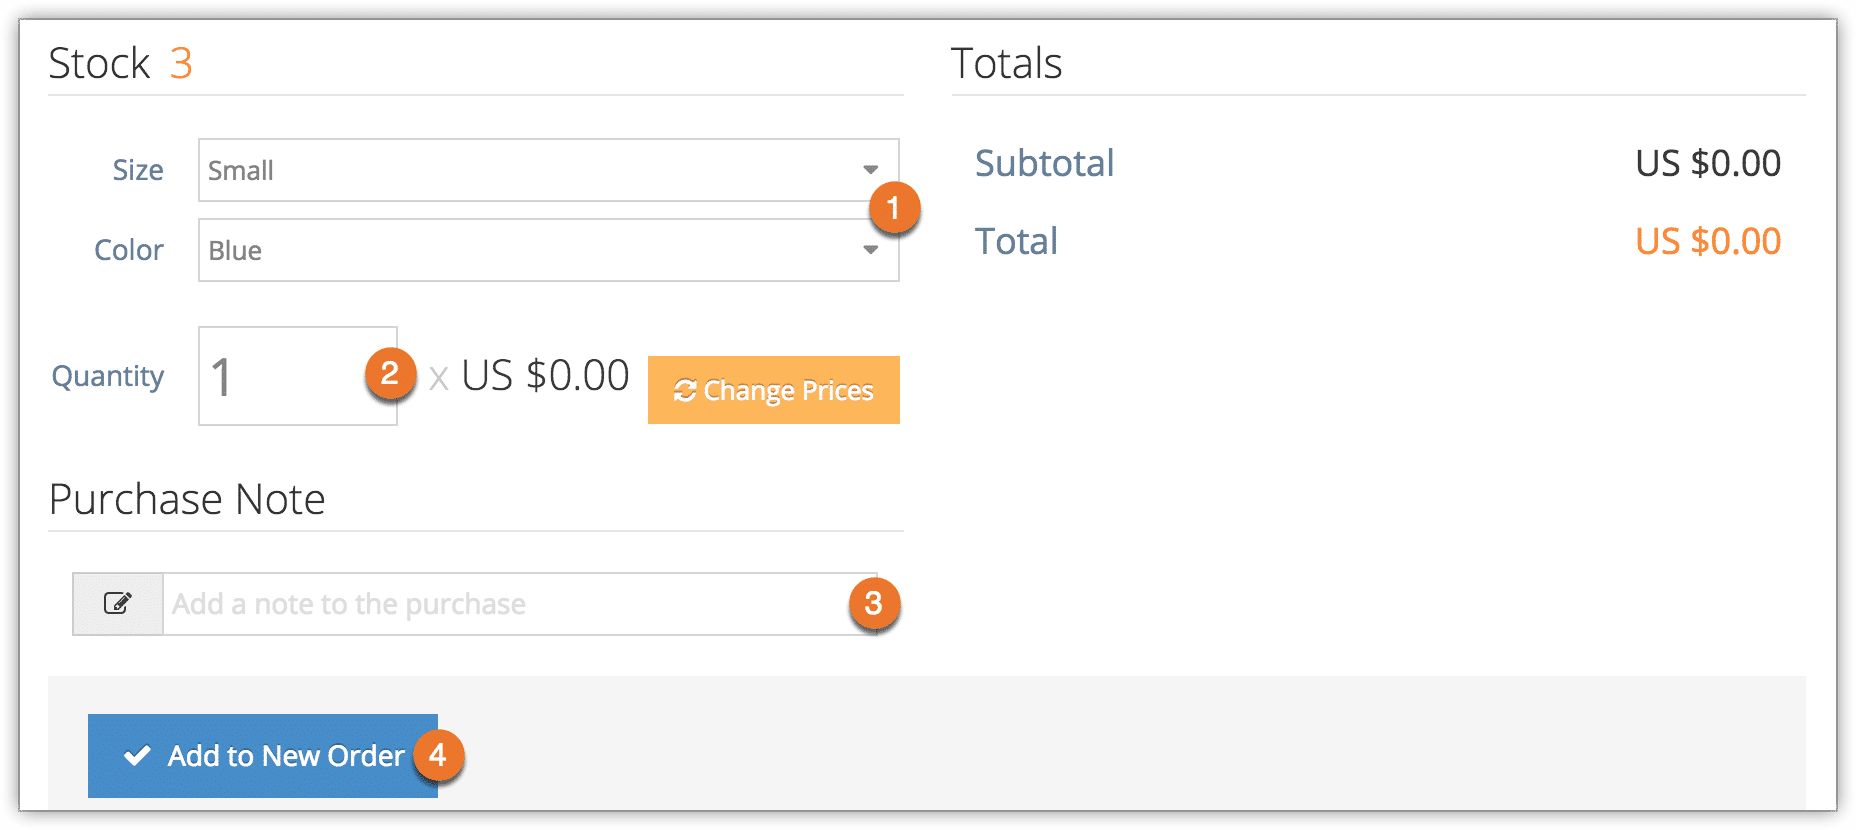
- Select the variant options (1).
- Enter the quantity you’re selling (2).
- Enter any notes that should be included on the order. (3)
If you need to adjust the merchandise price, you can do so by clicking Change Prices.
5. Click Add to New Order (4).
5. Repeat steps 2-4 for any additional merchandise you want to add to the order. You can also add bookings to the order.
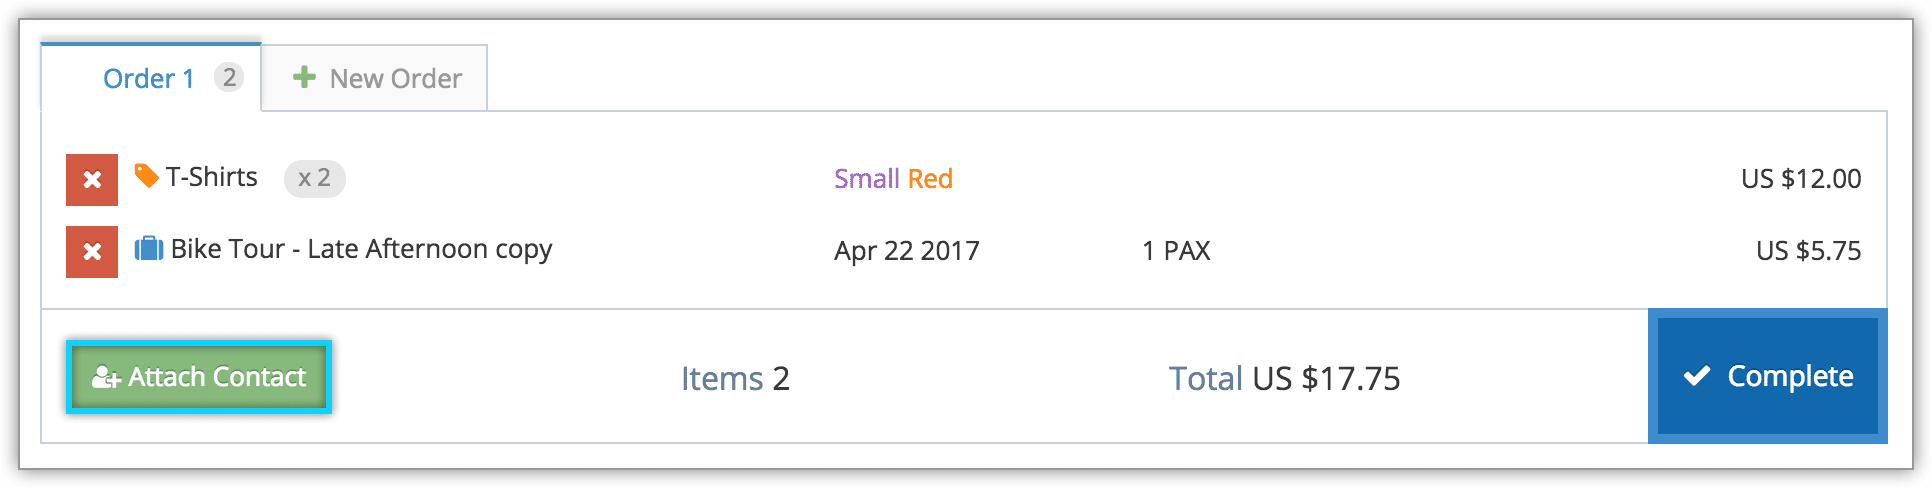
6. Attach the customer’s contact, if applicable.
7. Click Complete.
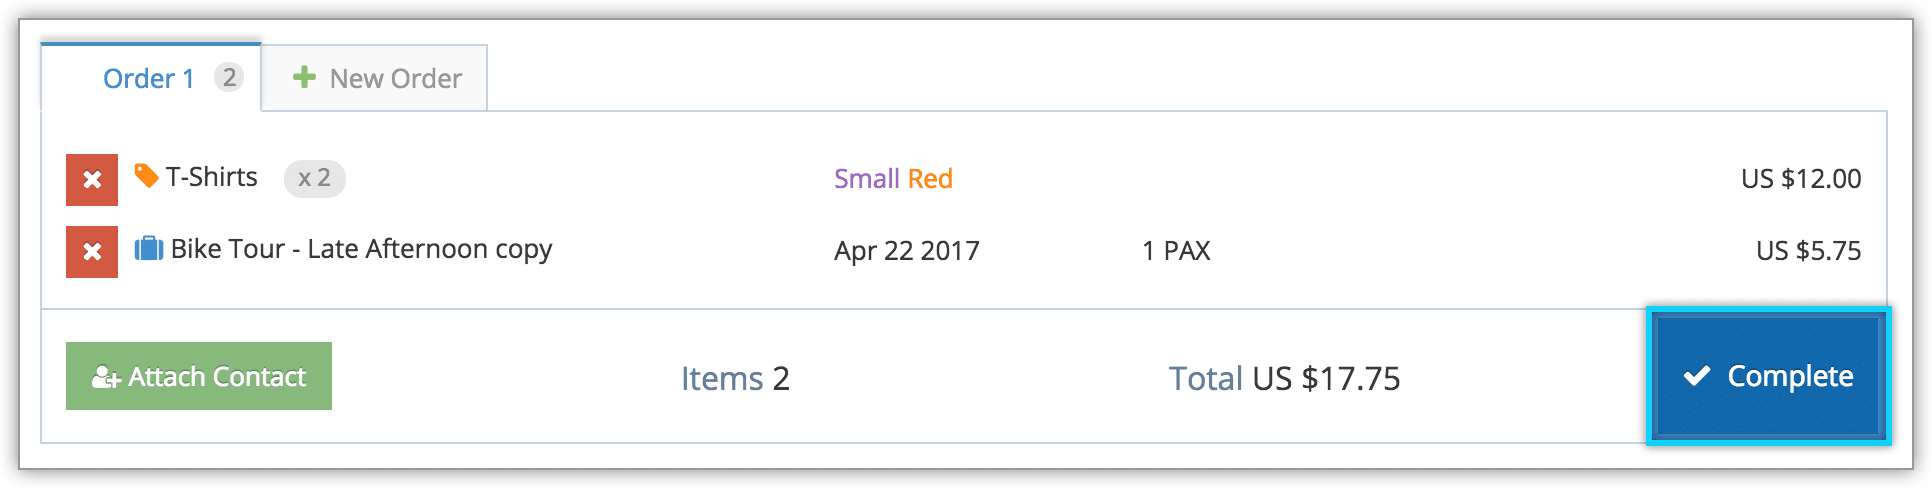
When the order is completed, you will either be taken to the Order page or the Booking page depending on your account’s settings.
From the Order page, you can set the order status, get an order receipt, manage the purchase, navigate to individual purchase details, and add transactions to the order.
From the Booking page, you can manage the purchase’s status, receipts, tickets, check-in, and notifications, move the booking, view its history, add transactions as needed.
Or you can edit the purchase , where you can enter all the additional information you need, including passenger information, billing information, line items, and required deposits.
Note that back-end/POS orders are billed at the back-end transaction rate.