
Some tours and activities require signed waivers. If you add a waiver, it will be available for orders made through the Rezgo point of sale. Customers who book on the web will also be required to sign the waiver, or have their guests sign waivers.
First, navigate to Settings in the main menu and click Templates.
1. Find the Waiver template under the Legal heading.
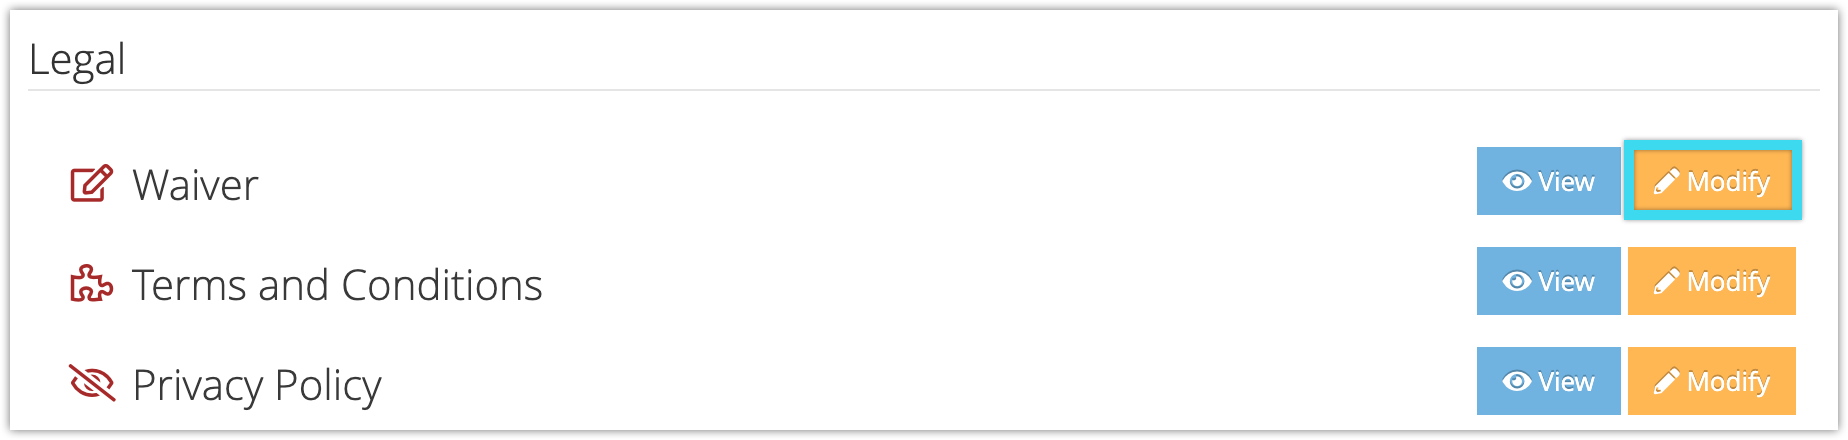
2. Click Modify.
3. Enter the content that should always be included in the waiver for all of your inventory items. Additional waiver content may be customized at the inventory level. Default content will be loaded, but this should be customized to meet your legal requirements.
If you need specific sections of your waivers to be initialed, you can use the [initial] tag below that content.
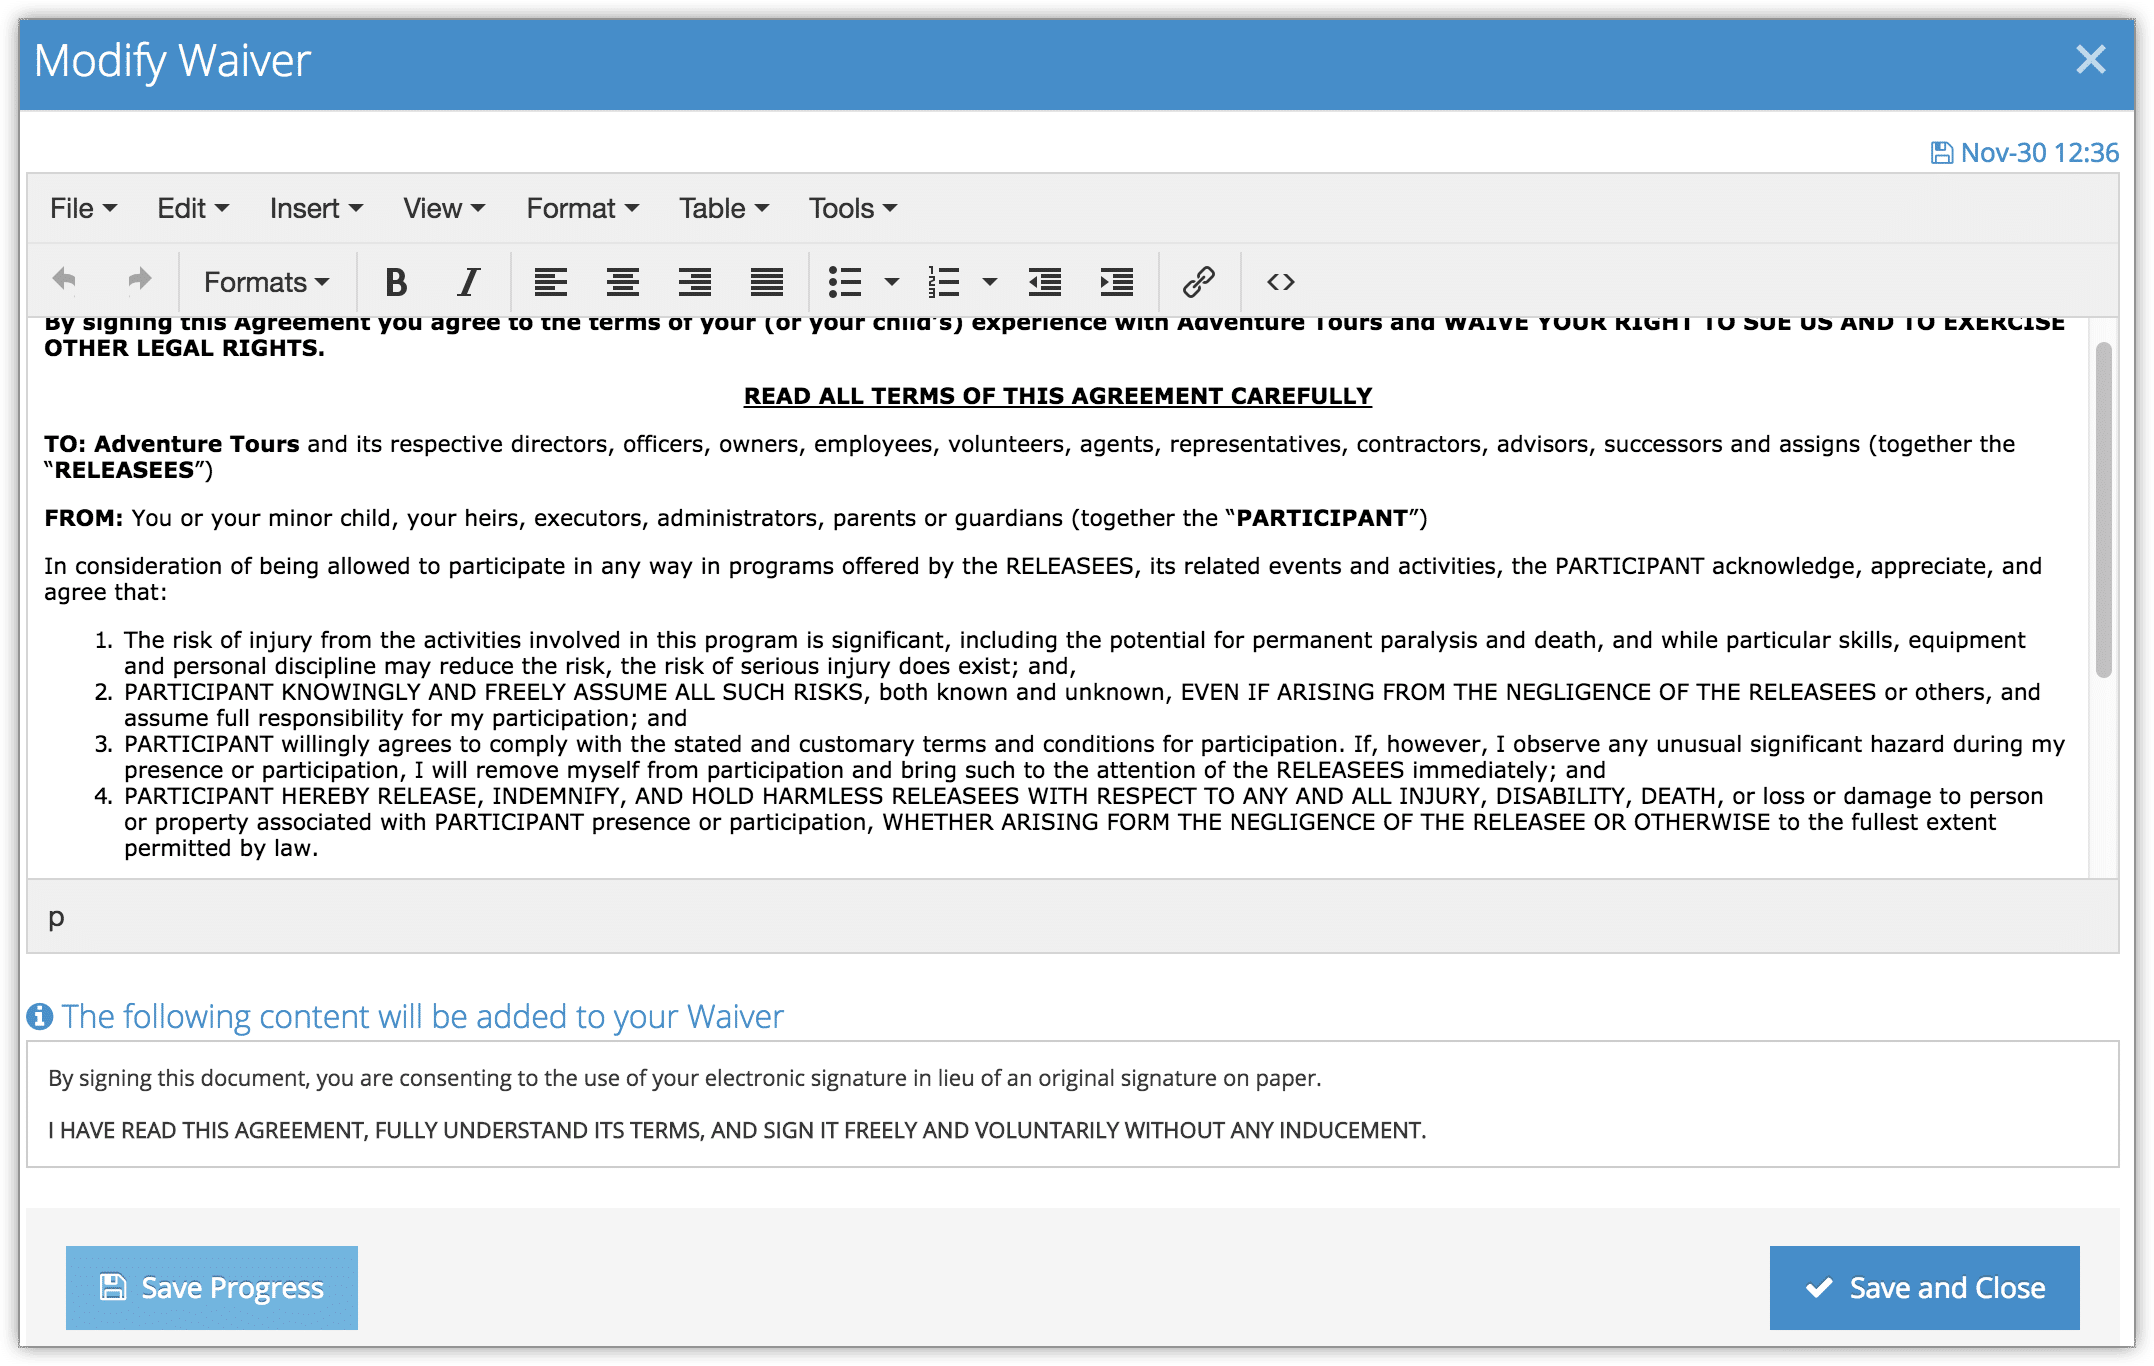
4. Customize any design you want included on every waiver. You can format text along with more complicated customizations like tables or lists.
5. Click Save Progress to save and continue editing, or Save and Close to finish editing the waiver.
Now you can enable and configure your waiver for individual inventory items. Until you do so, it won’t be used.