You can create email notifications to be sent in a variety of situations–when a new booking is made, scheduled for a number of days before or after a booked-for date, and when a booking’s status is changed.
First, navigate to Settings in the main menu and click Notifications You Send.
1. Click Create Notification.
2. Enter a name for the notification (1).
3. Select whether or notifications for the booking should be sent automatically when its trigger condition is met (active) or not. Customer notifications will only be sent automatically if the booking is made on the front-end.
4. In the dropdown labelled When, select the condition for sending the notification (3). For example, when a new booking is made, when it’s a certain number of days before the event, or when the booking’s status changes.
5. In the dropdown labelled For, select the inventory option(s) this notification applies to (4). Whenever the criteria listed under “When” are triggered for the inventory options selected here, the notification will send according to the actions you define.
6. In the dropdown labelled And, select any additional conditions (5). For example, if the booking’s waivers are unsigned.
7. In the dropdown labelled Then, select the recipient of the notification (6). This can be an email or SMS* to the customer. It can also be custom email addresses, SMS numbers, or a WebHook.
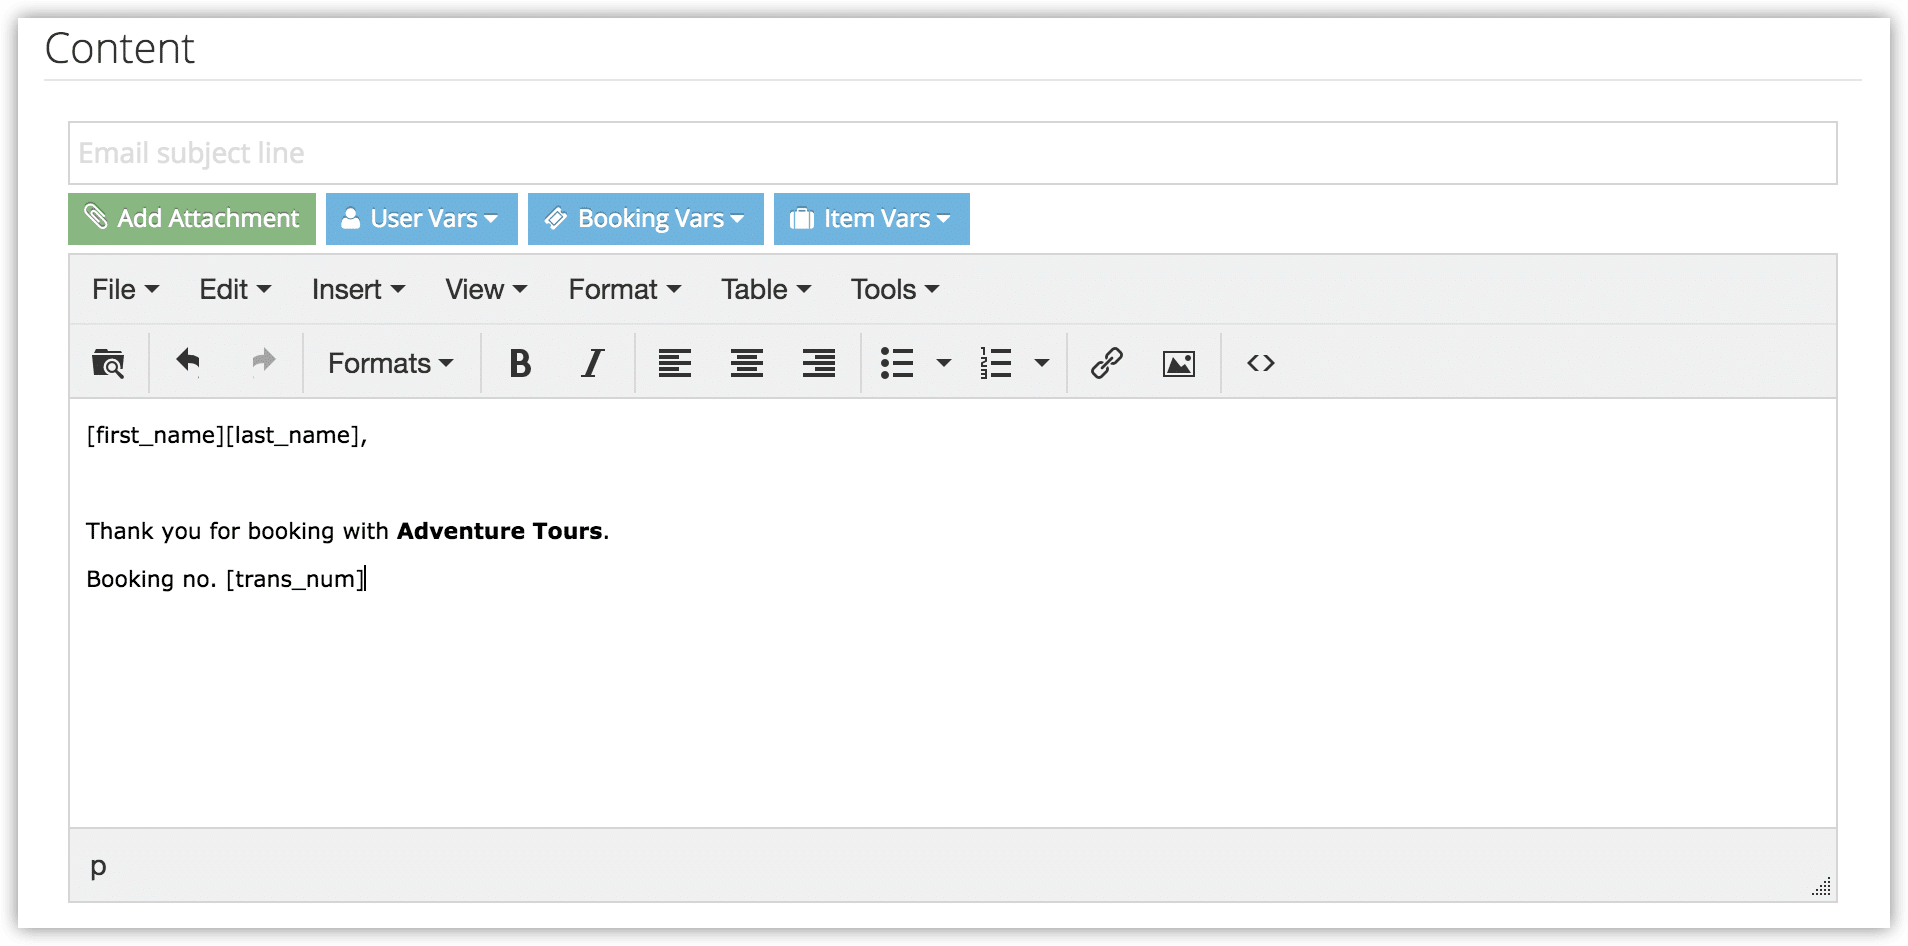
8.Enter the message content. You can find more information about customizing notification contents here.
9. Click Create Notification.
*Please note that SMS messaging needs to be enabled to send SMS notifications. Additional charges apply.


