To import inventory, you need a Rezgo-formatted CSV file. You can download one by following the instructions at this page.
Once you have the CSV file, you can edit it as needed in an editor of your choice, like Microsoft Excel, Google Sheets or Numbers. When you’ve made any changes you want to make, save the file or export it as a .CSV file
Please note, if you’re creating inventory from scratch, we recommend creating it normally through Rezgo.
Importing Inventory Changes
When you’re ready to upload your changes, return to Inventory in the main menu.
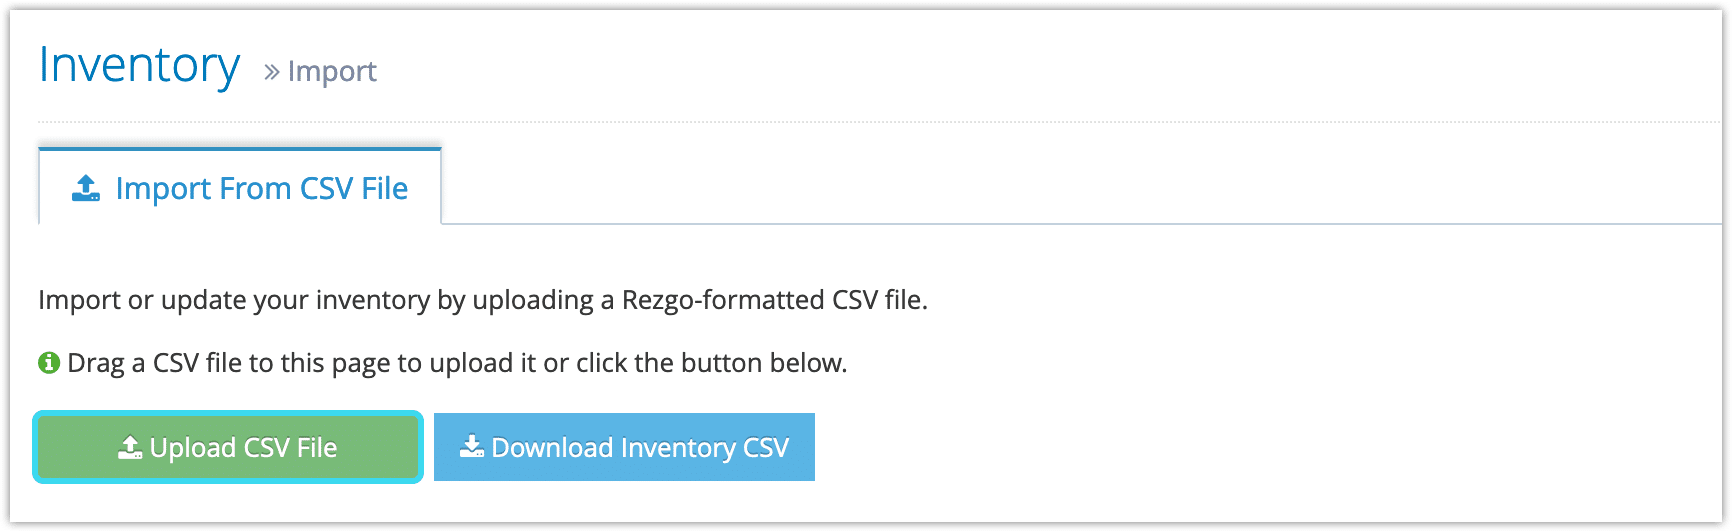
1. Click Import Inventory.

2. Click Upload CSV File.
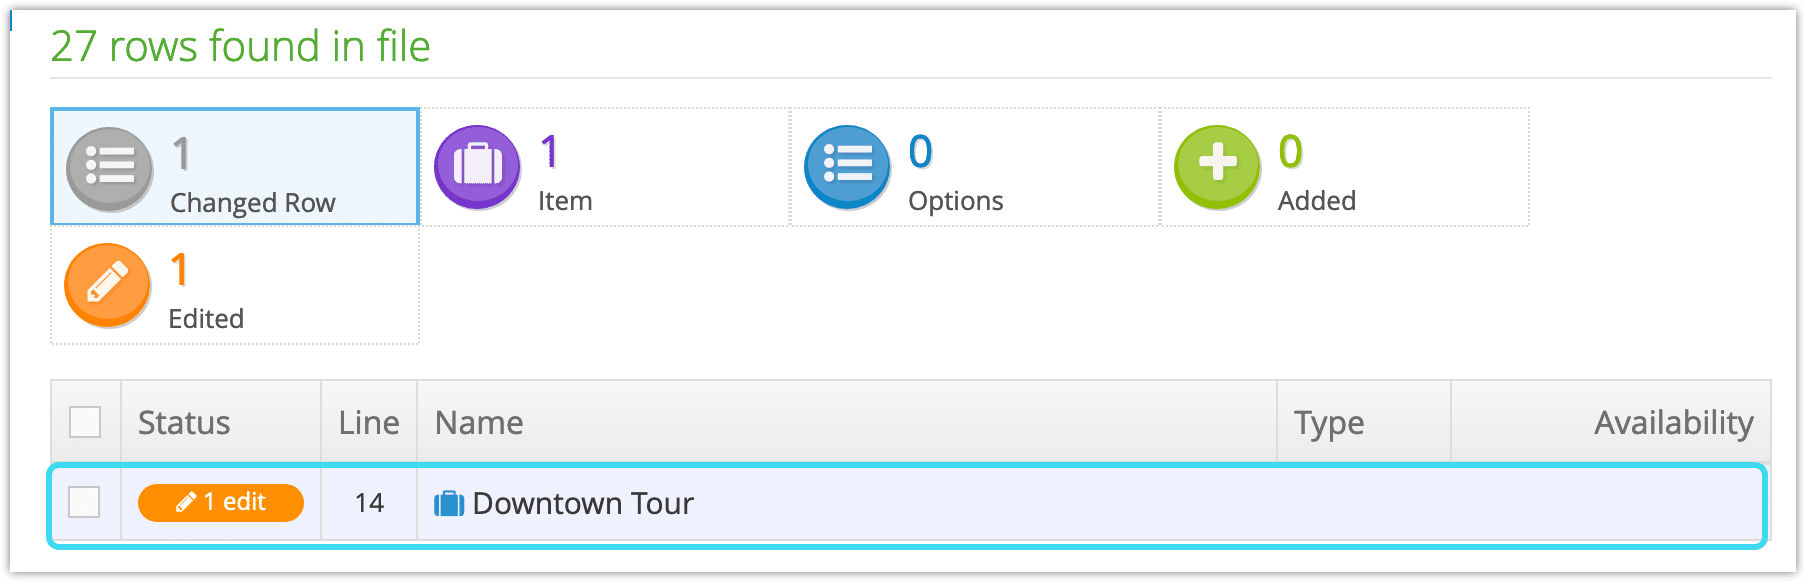
3. Review your changes. The importer will show you every changed row in the file. Click a row to see what’s changed.
4. Select the rows of every change you want to import.

5. Click Submit X Selected Rows.
6. Visit your inventory to look over your changes.
Importing New Inventory
If you want to import your inventory to a new account or as new inventory, you need to take an additional step when editing the CSV file: the Item Update SKU and Option Update SKU must be blank. If you delete those SKUs before saving and importing the CSV, the items and options you import will be created as new inventory.
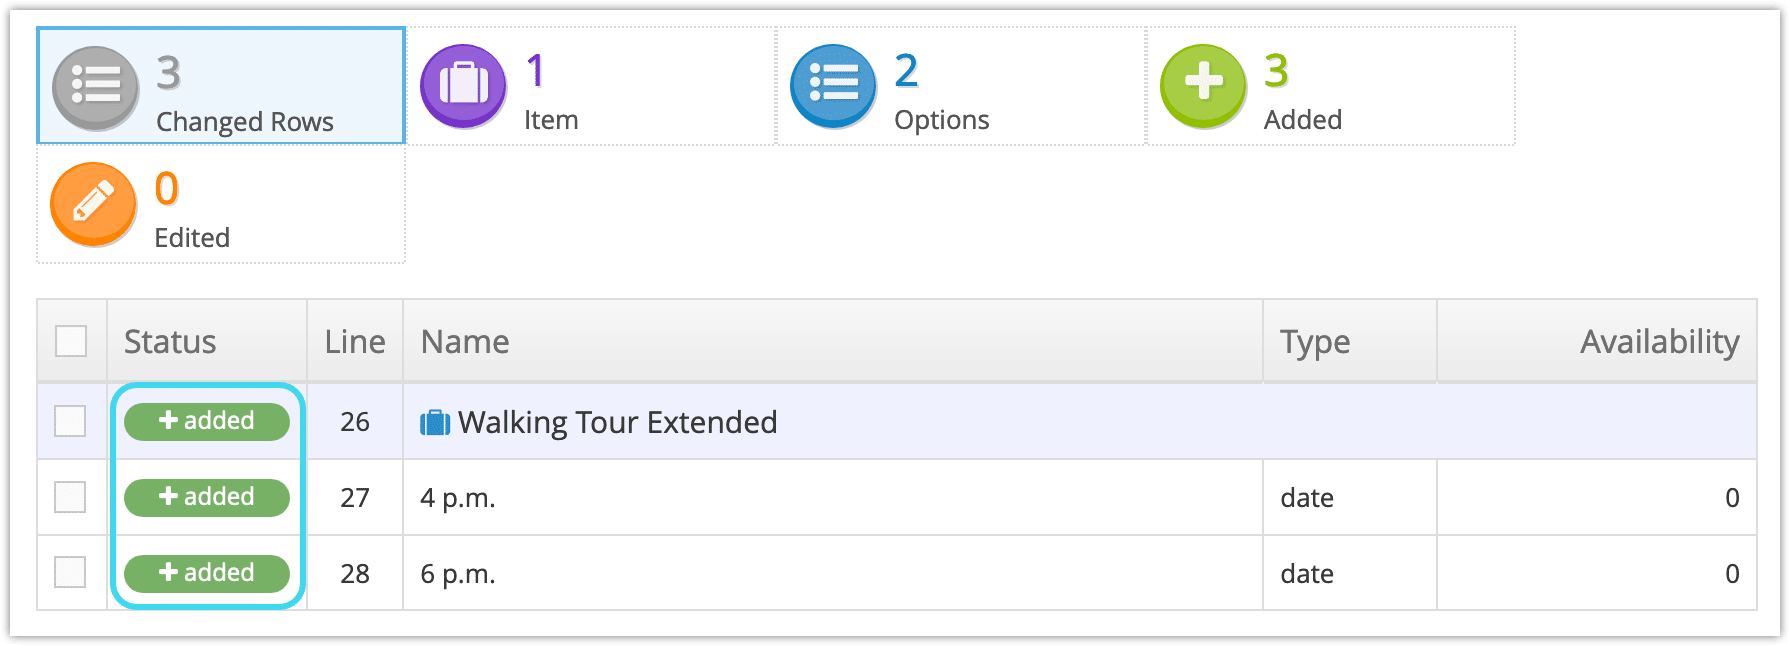
Follow the instructions for importing changes above. New inventory will be flagged as added rather than edited.
Please note that if you’re using the inventory importer to move inventory between accounts, you’ll still need to delete or deactivate the inventory on the original account if you no longer want it to be available there.