If you want to create a new template for your merchandise vouchers, you can do so in the settings section. This requires knowledge of HTML and CSS. If you don’t feel comfortable editing HTML and CSS, please contact us for technical support.
The merchandise voucher is used with redeemable merchandise–merchandise that can be checked in or redeemed at the time of use. If you don’t sell merchandise or don’t offer redeemable merchandise, it’s not necessary to customize this template.
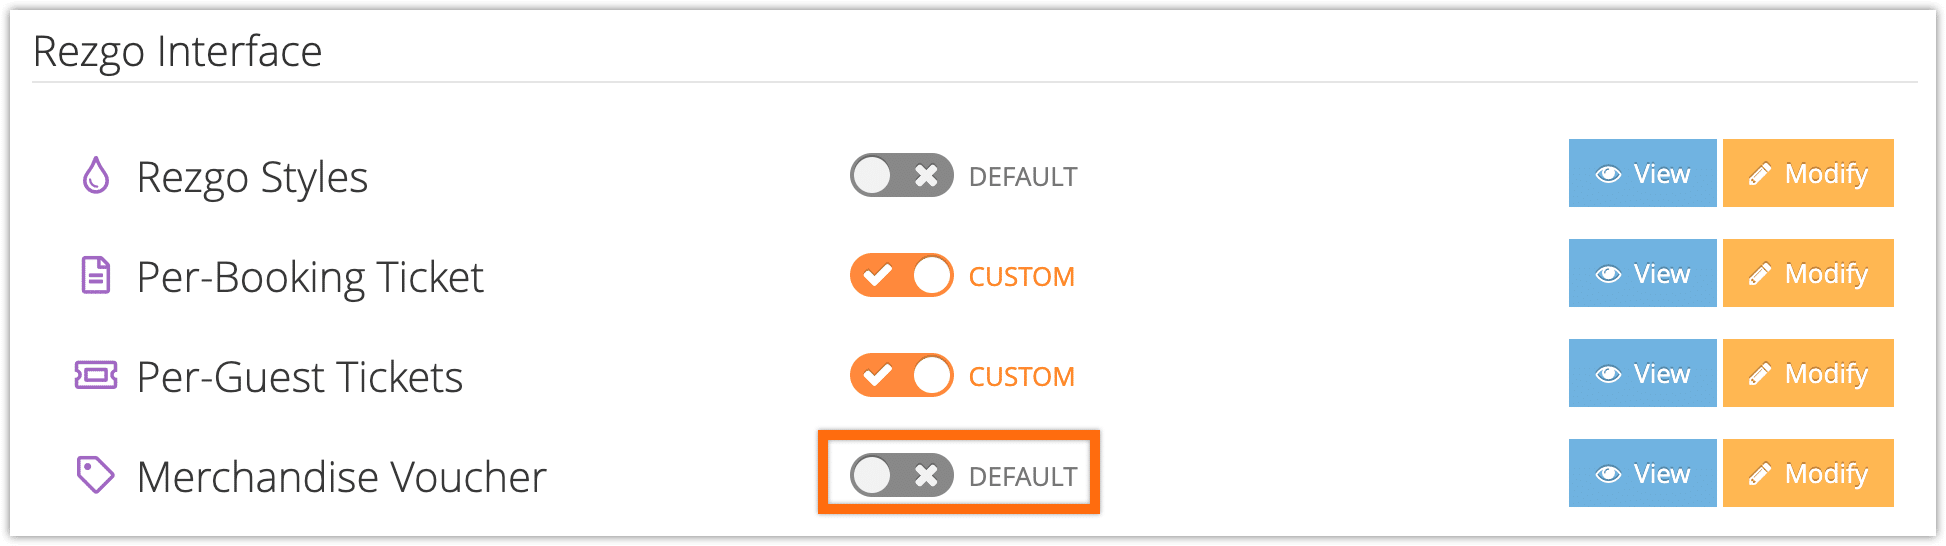
First, navigate to Settings in the main menu and click Templates.
Click Modify next to the Merchandise Voucher template.
This will bring up the modify templatewindow.
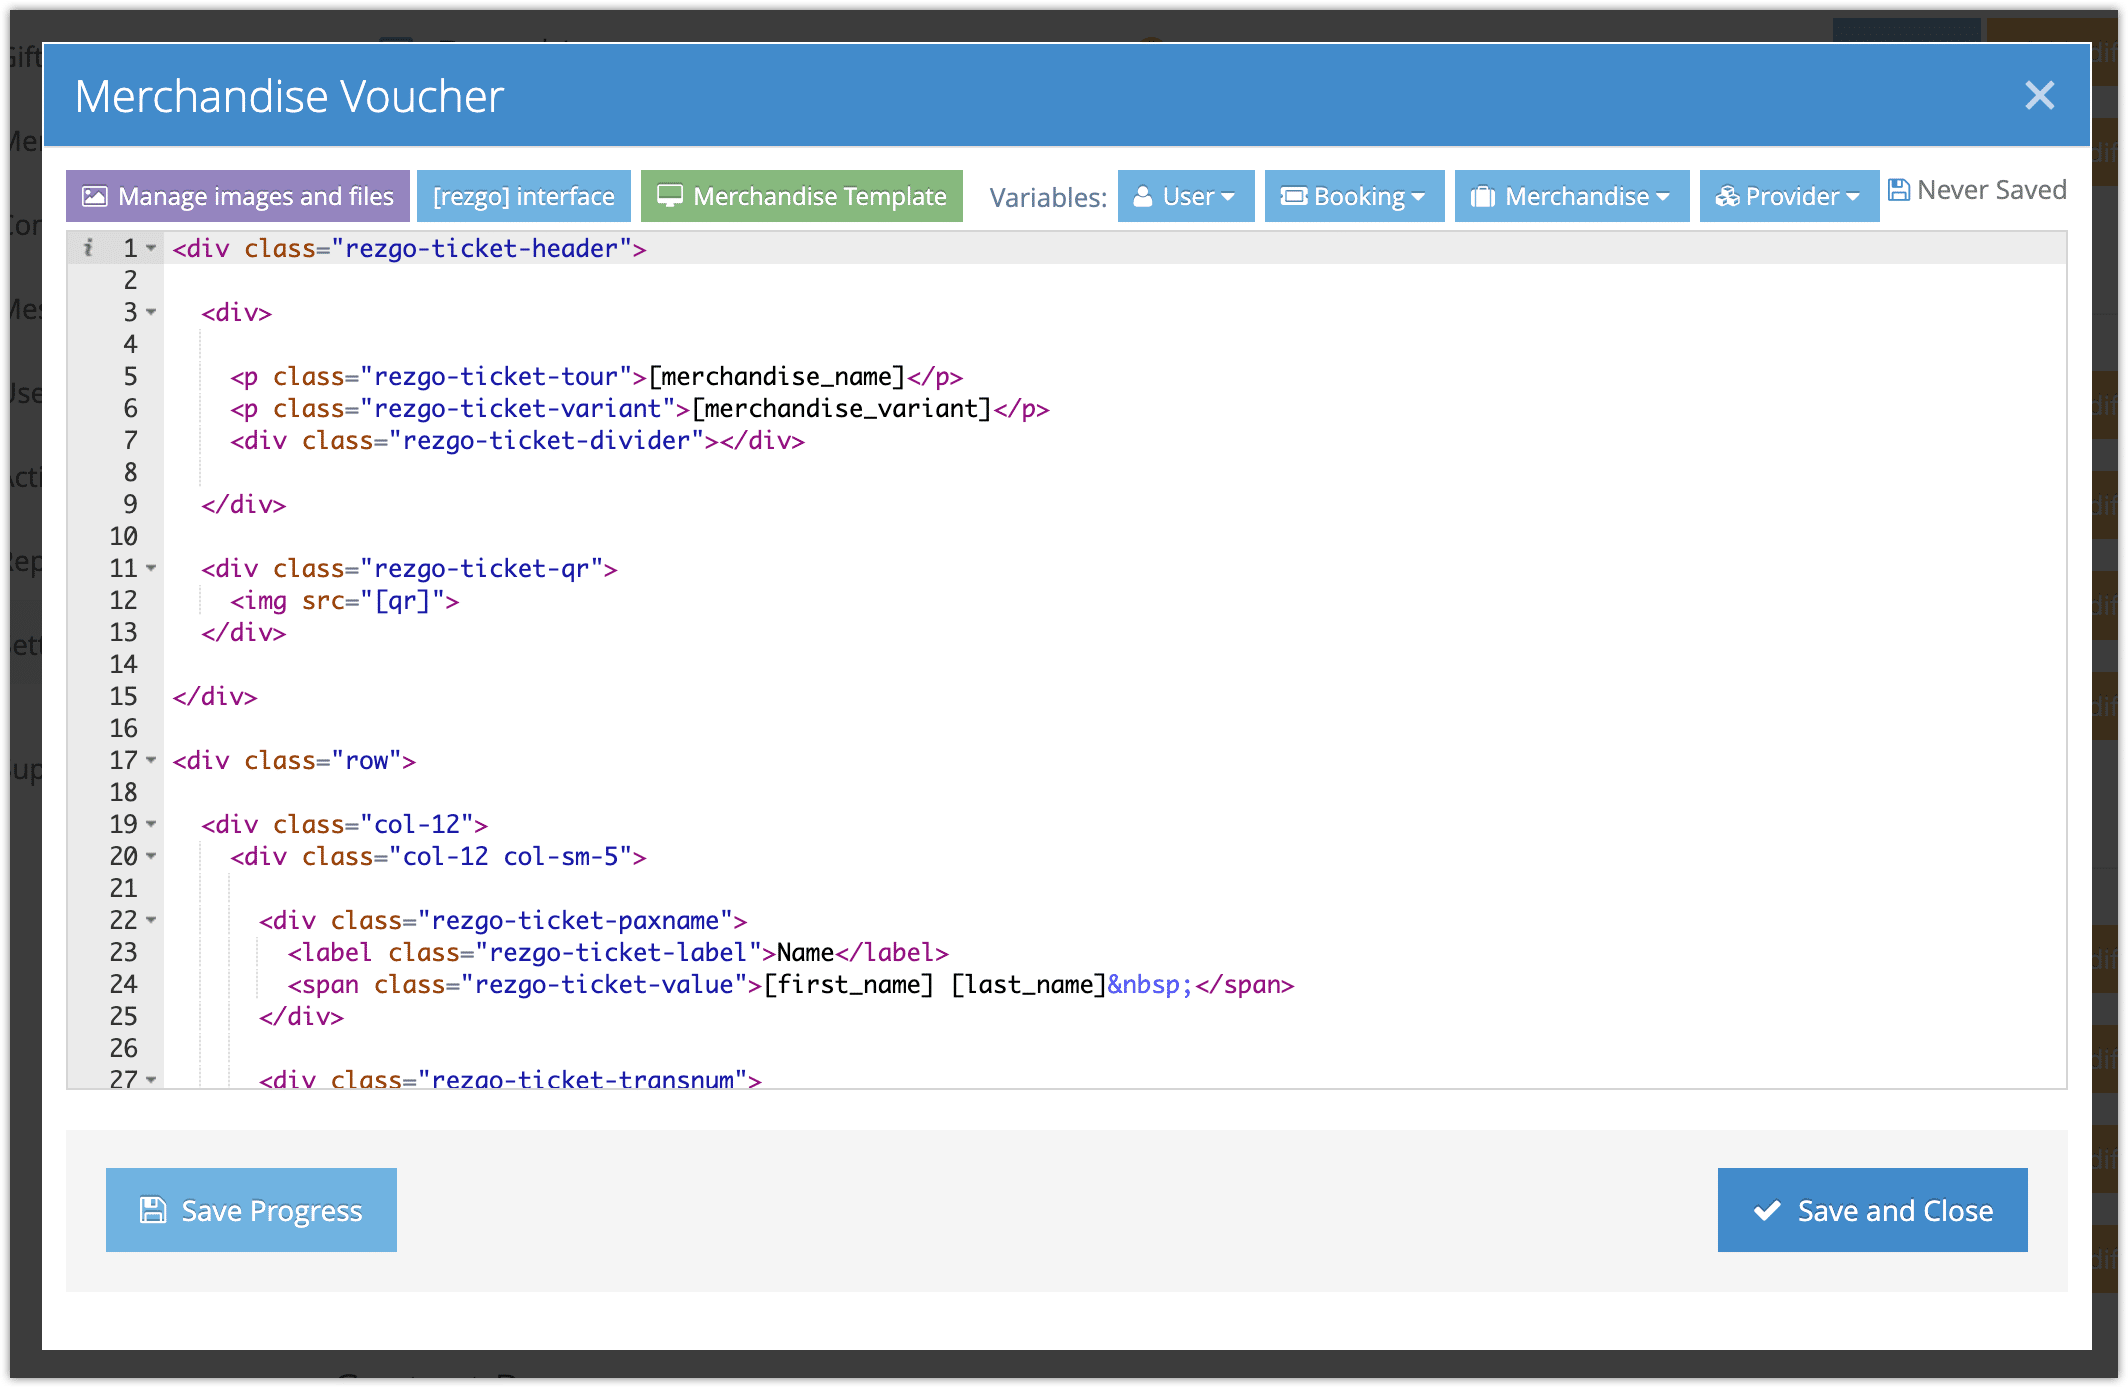
Here you can see and edit the HTML that surrounds the voucher content. There are a number of variables available to use in your templates. You can insert them into your template by clicking the relevant variable buttons. They are already included in the default template, but you may want to move or replace them.
These include user variables, like the passenger or billing contact’s first and last name, as well as variables for the booking, merchandise and service provider.
The Merchandise Template button (2) inserts any information that’s specified in the relevant merchandise.
You can upload any images or files you want to include by clicking Manage images and files.
Make sure to save your progress regularly, and click Save and Close when you finish editing your template.
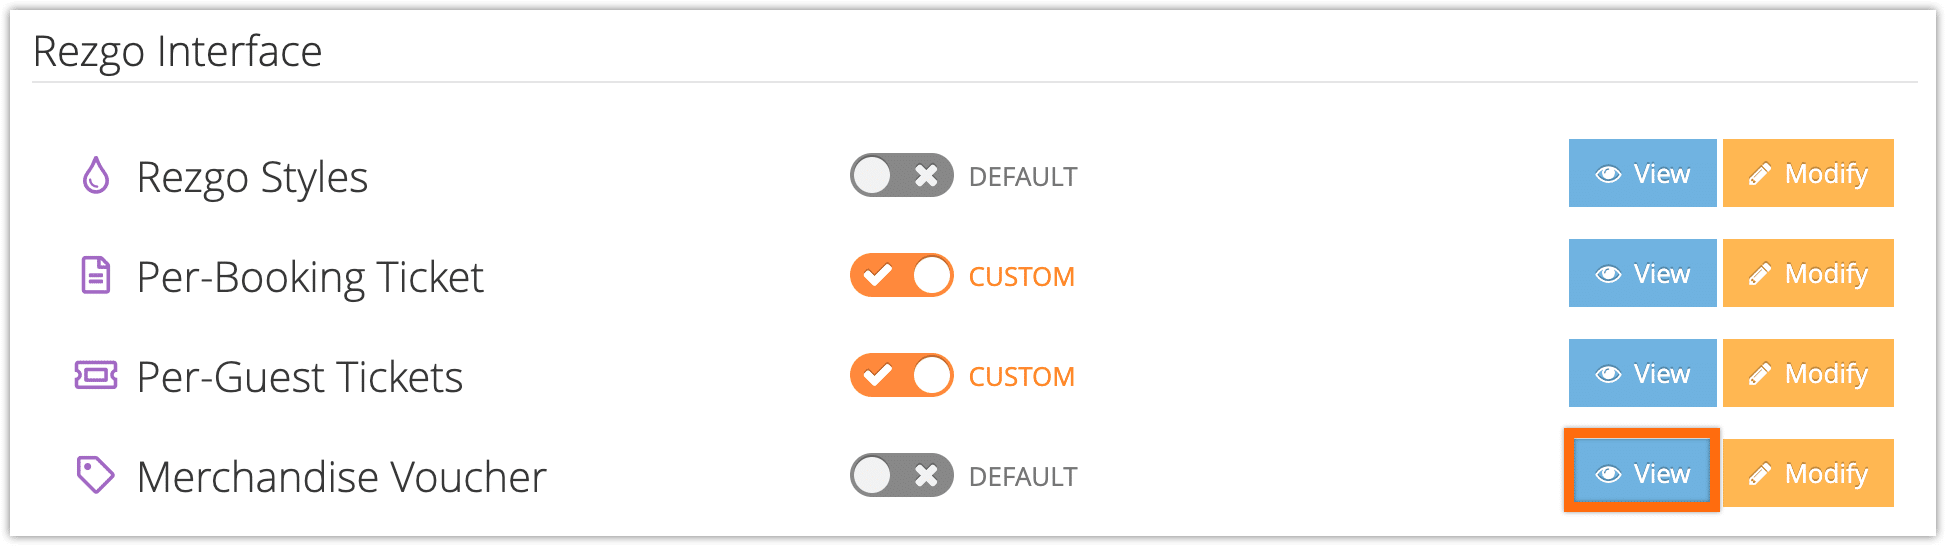
You can preview your template from Settings > Template by clicking View next to the template.
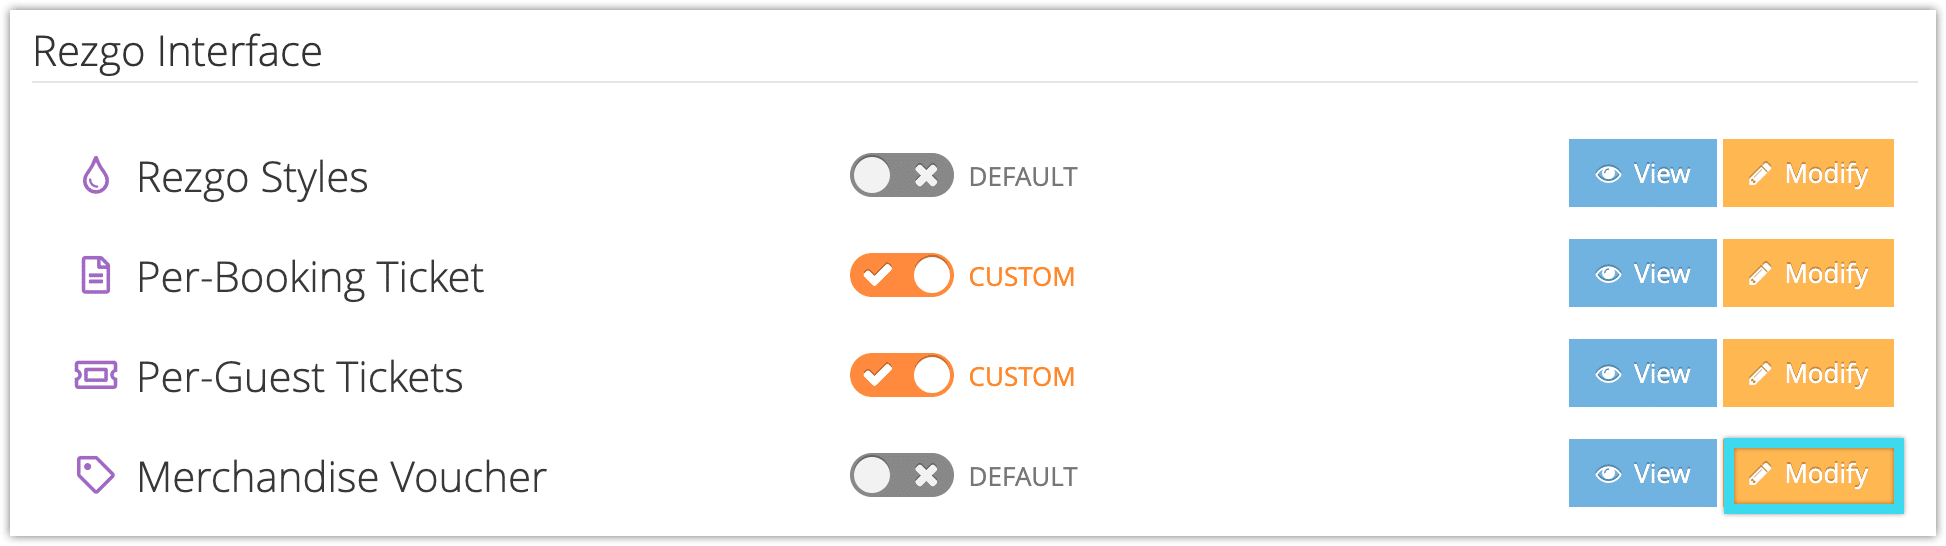
When you want to take your new template live, click the toggle next to the template from Default to Custom to activate your custom template.