
If you’d like to have inventory added to an order whenever a particular contact is attached to a booking, you can attach that inventory to the contact.
This is intended to save you time when you have customers who regularly book the same inventory or purchase the same merchandise, or when you have products you want to ensure get added to the customer’s next booking.
If you want to create a booking for the customer, you don’t need to first attach the inventory to their contact – you can just create a booking for them in the point of sale.
Editing the contact
To attach inventory to a contact, first, go to Contacts in the main menu.
1. Click the contact in your contacts list.
2. Click Edit.

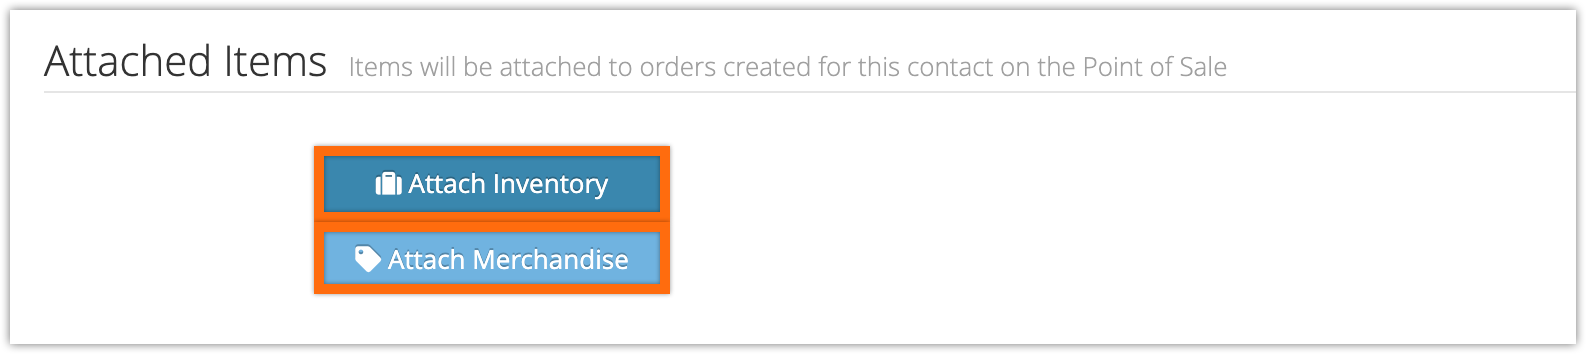
3. Click Attach Inventory or Attach Merchandise.
Attaching inventory to a contact
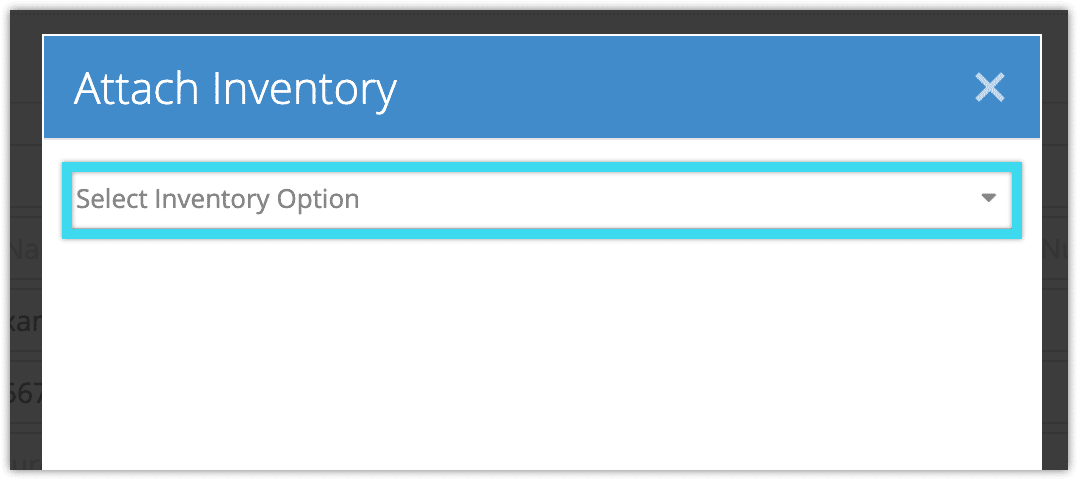
1. Select the inventory you want to attach.
2. Select a date for the booking (1): either the same day as the purchase, a set number of days after the purchase, or a specific date.
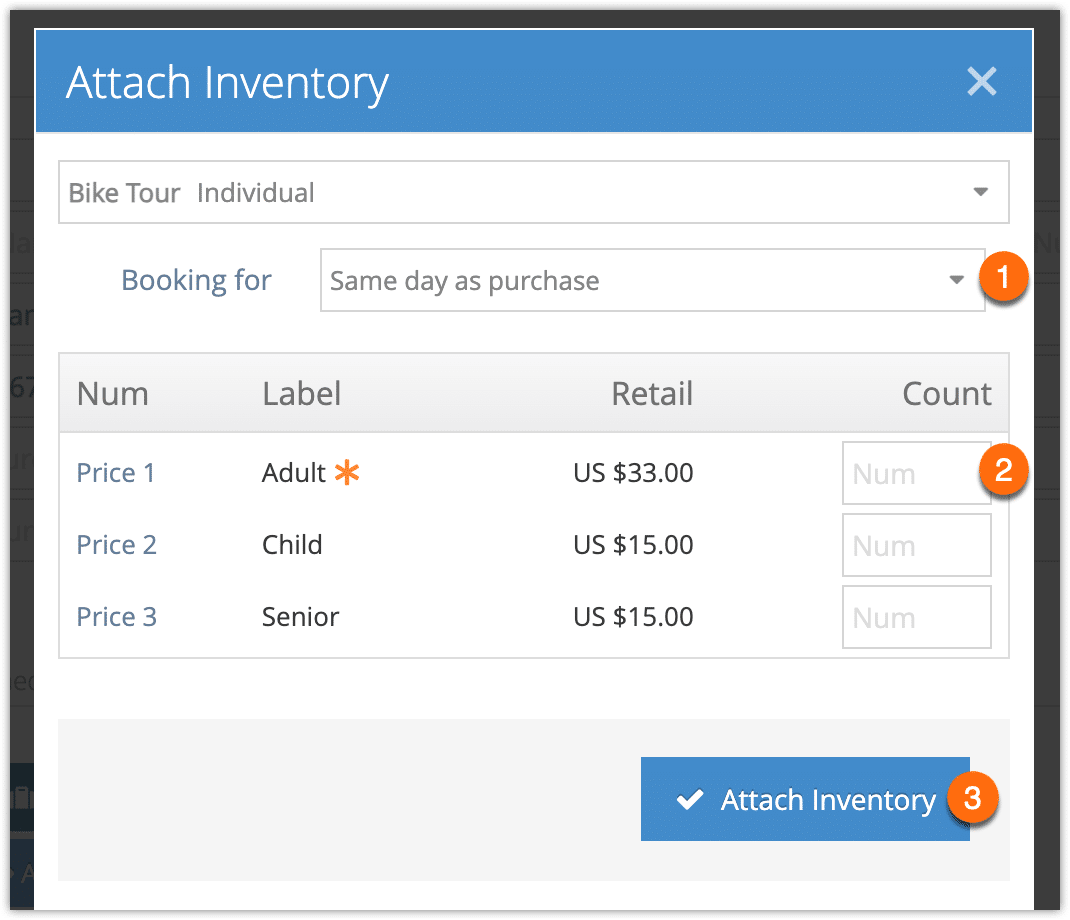
If you choose the same day as the purchase or a set number of days after the purchase, the date will be selected dynamically at the time of booking. If you have a customer who always books a specific class on the same day, you could use this to save time.
If you choose a specific date, this will only attach bookings for the chosen date.
3. Enter the number of guests at you’d like to book for each price point (2).
4. Click Attach Inventory (3).
5. Click Save Changes.
Attaching merchandise to a contact
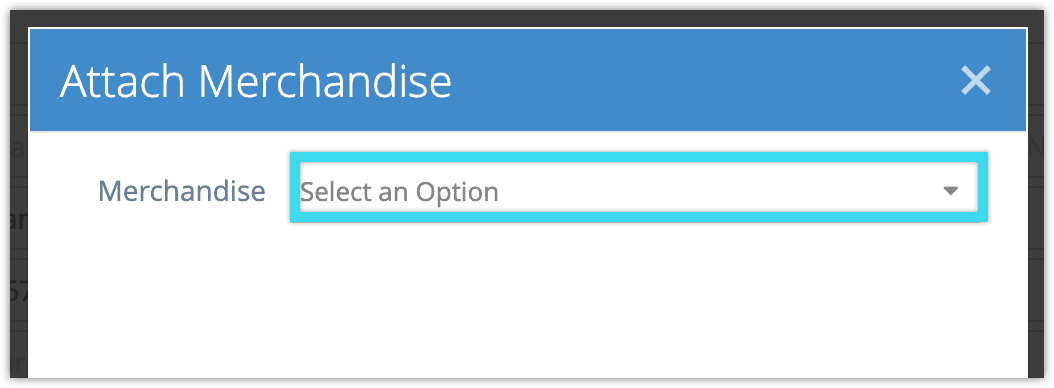
1. Select the merchandise you want to attach.
2. Select from any variants that are configured for the merchandise (1).
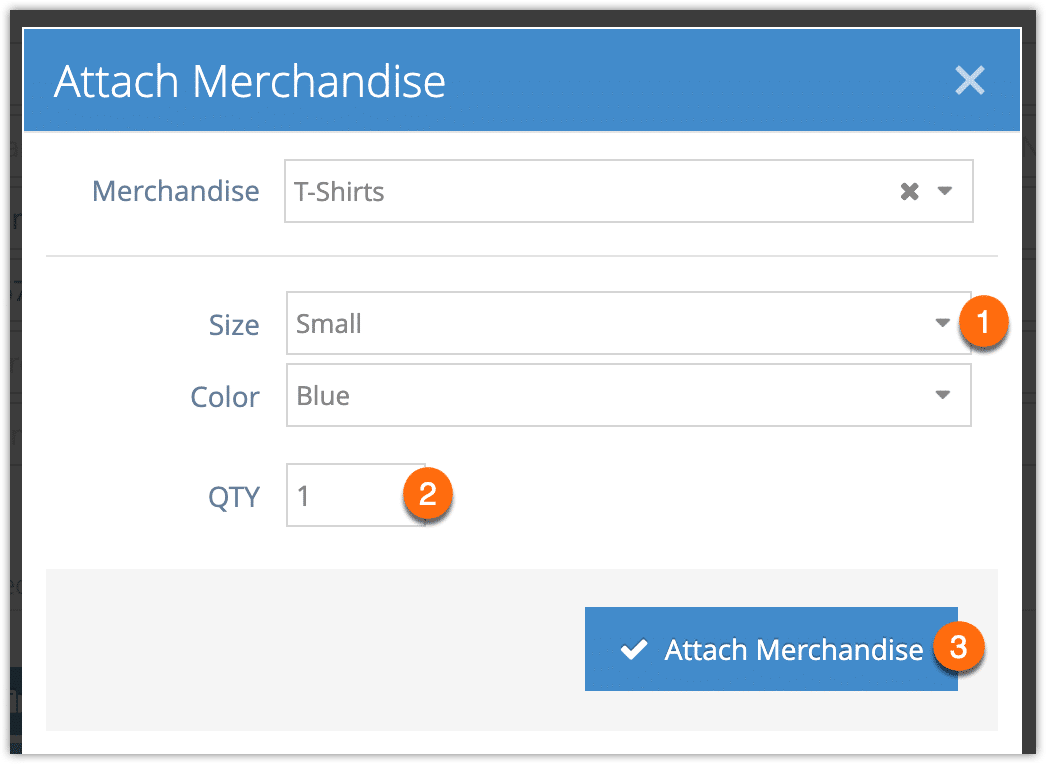
3. Enter the quantity that should be attached to the order (2).
4. Click Attach Merchandise (3).
5. Click Save Changes.
Once this is done, every time you attach this contact to an order in the Rezgo point of sale, this inventory or merchandise will be added to the order. If you don’t want that to keep happening, you can remove the inventory from the contact.
Removing Attached Items
To remove an attached item from a contact, go to the contact’s edit page.
1. Click the remove button next to the attached item.

2. Click Save Changes.