
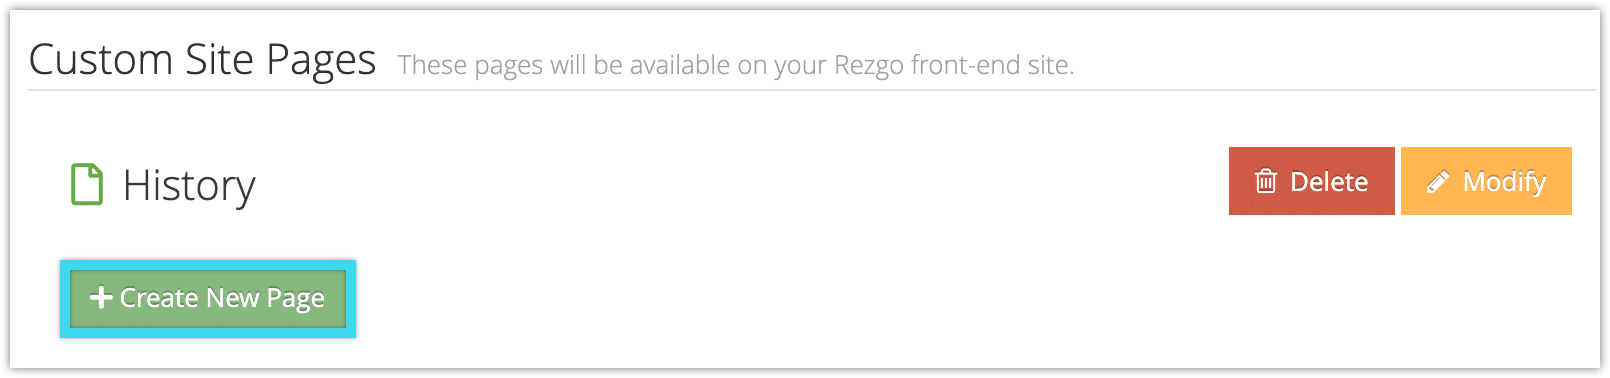
In addition to the default pages—About, Contact, Privacy Policy and Terms and Conditions, you can create additional custom pages.
To create a custom page, navigate to Settings in the main menu and click Templates.
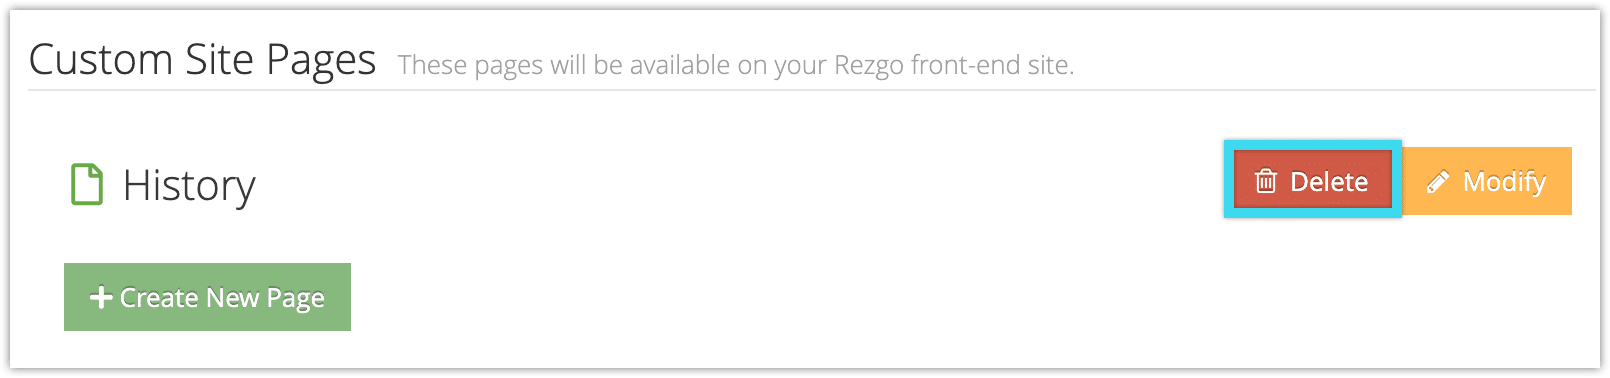
Click Create New Page.
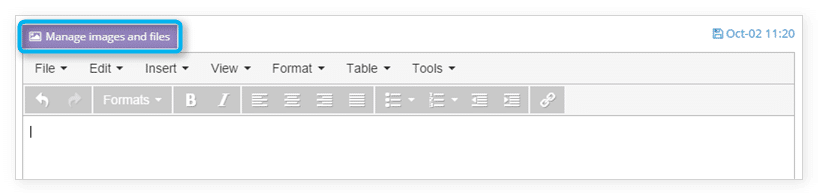
This will bring up the Create New Page window. Here you can add or modify content that will be shown on your new page. The default editor lets you format text, insert images, links, videos and tables, and more.
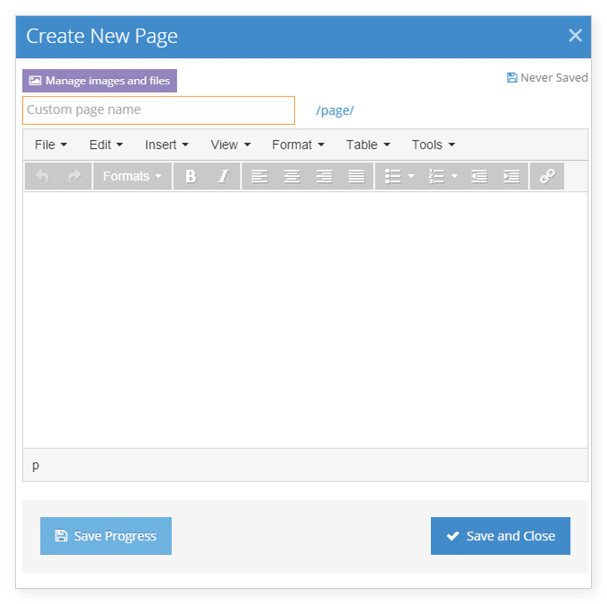
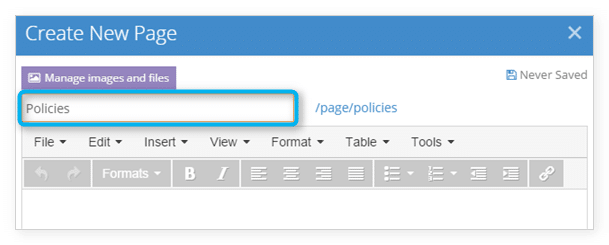
First, give your new page a name. To the right of the name, you’ll see how to navigate to the page on your Rezgo website.
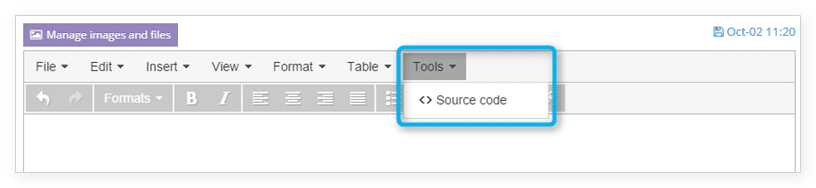
You can also view the source to customize the Contact page’s HTML. Click Tools, then Source Code.
If you want to upload images, click Manage images and files.
Click Save Progress to save and continue editing, or Save and Close when you finish.
Make sure to add a link to this page in your template.
View Custom Pages
To view your custom page, you can copy the custom page path and add it to your Rezgo website URL in your browser.
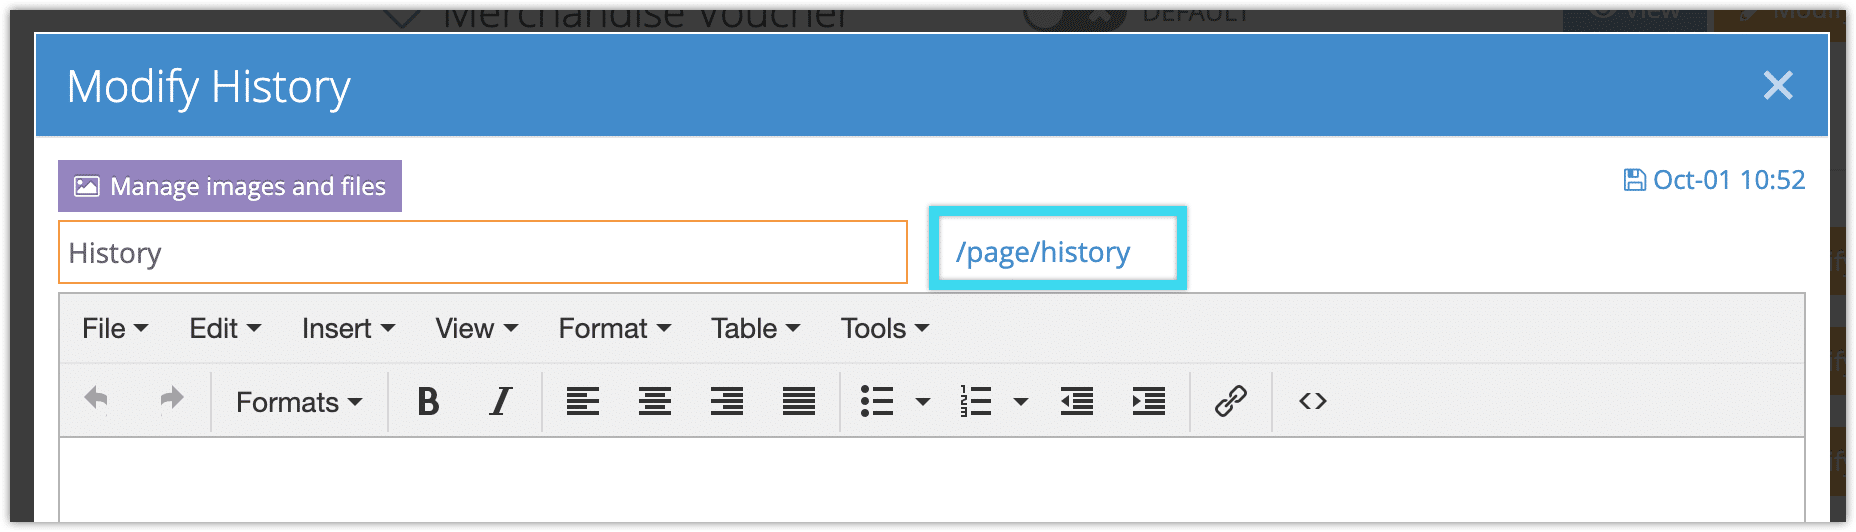
In this example, the custom page path is /page/history. If your Rezgo URL were example.rezgo.com, your custom page’s full URL would be example.rezgo.com/page/history.
Delete Custom Pages
To delete a custom page, click Delete next to the page.
One thought on “How to add new pages to your Rezgo website”
Comments are closed.