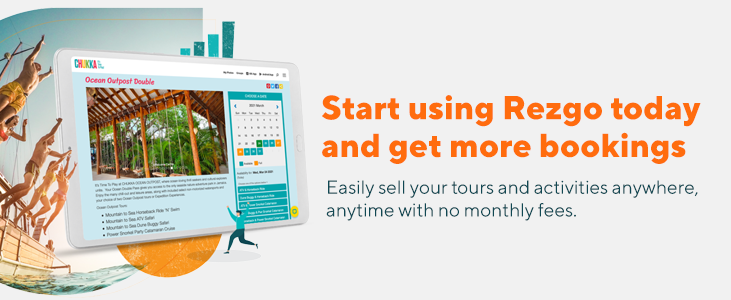
Accepting online bookings doesn’t have to be a complicated or overwhelming process. The Rezgo tour operator software is designed to make it easy for you to start accepting your bookings online. We take care of all the security, hosting, domain name management, and credit card integrations so you can focus on what you love.
This 10 step guide on getting ready for online bookings will walk you through all the things you should have ready so that when you create your Rezgo membership, you’ll be ready to start accepting bookings from your customers:
1. “About Us” Information
This is usually a paragraph or two about your company and might describe when you started your business, some recognition you’ve received, and aspects of your business that make you unique. Customer usually read this page in order to get an idea of who you are and whether or not you are legitimate and trustworthy.
2. Booking Terms & Conditions
Your booking terms and conditions are essential. Your customers must accept your terms before they book with you. The Booking terms should include your customer service policy and cancellation policy. When customers complete their online bookings, for example, they must check a box that says they accept your terms and conditions.
3. Base Currency
Decide what currency you plan on doing business in. Although you may want to make it easy for your customers and list your prices in other currencies, you may only be able to receive money in one currency depending on your credit card payment gateway. Remember that foreign exchange can be expensive, so be sure to decide well before you display your pricing online. Once you set your base currency and start receiving online bookings, you will not be able to change it.
4. Accepted Payment Methods
How do you plan on receiving payment from customers? The most effective and efficient method for payments is a credit card payment gateway. Your payment gateway will allow you to accept Visa and Mastercard payments in real-time. Although Paypal, check, and cash on arrival may be options as well, they tend to result in higher abandonment and “no-show” rates.
5. Tour Description, Itinerary, Schedule
Gather all your tour information together. If you offer a number of tours, you may want to start by listing only one or two of your tours. You will want to have your long description, your itinerary and schedule, exclusions, inclusions, things to bring, and any other information you have available. You may already have this information available as part of a brochure or flat-sheet. There is no need to write anything new (unless you want to), just re-use what you already have. The nice thing about using the Rezgo system is that if you need to update your information later, you can do so very easily.
6. Photo of your Tour
A photo of your tour will go a long way to making the experience seem more tangible to your customers. Images are an important part of the selling process online. If you only have one photo available, that’s okay, but try and find additional ones that you can add later in order to enhance the product display. Photos and videos can really help increase your online bookings.
7. Tour Options
Does your tour have different departure times, or do you offer variations of your tour. You will want to make note of how you differentiate your tours within the Rezgo system. The most common way of differentiating the tours is by departure time, for example a 12:00pm tour versus the 3:00pm tour. Although both are variations of the same tour, they may have different availability and pricing depending on what is included.
8. Tour Availability
How many seats do you have available for your tour and when do you run the tour. If you’re tour has only one or two departure dates then you will need to set your availability start and end dates to the date of departure. If, however, your tour is available everyday from some start date to some end date, then you would set your availability start date and end date separately. Remember that you can always set exceptions (such as black out dates, etc.) using rules later.
9. Pricing
What are the prices for your tour. Do you offer adult, senior, and child pricing? Does your pricing change throughout the season? I recommend that you decide what your base price for your tour will be. This should be the price you most commonly charge for your tour. You will set this price as the starting price for your tours and you can always apply exceptions to your base pricing by using rules later.
10. You’re Ready to Get Started!
Once you have all your information in place, you are ready to get your site set-up. Go to http://signup.rezgo.com/ and create your account. Once you have created your account, take a look at the Getting Started Series for details on how to get your account up and running in no time.
Search The Blog
Categories
Most Popular Articles
- Advantages and Disadvantages of Online Travel Agencies (OTAs)
- Set-jetting, Forest Bathing, and Hush Trips: 20 Innovative Tourism Business Ideas and Trends for 2023
- Your Marketing Mix: the 7 Ps of Travel and Tourism Marketing
- How to Create and Promote Amazing Tour Packages
- Get More Bookings With These 9 Tourism Website Essentials


